1. Step 1: Hardware setup
Step 1 for setting up the senseBox:home.
Information on the setup & extensions
After your senseBox:home has been assembled, it needs be registered on the openSenseMap.
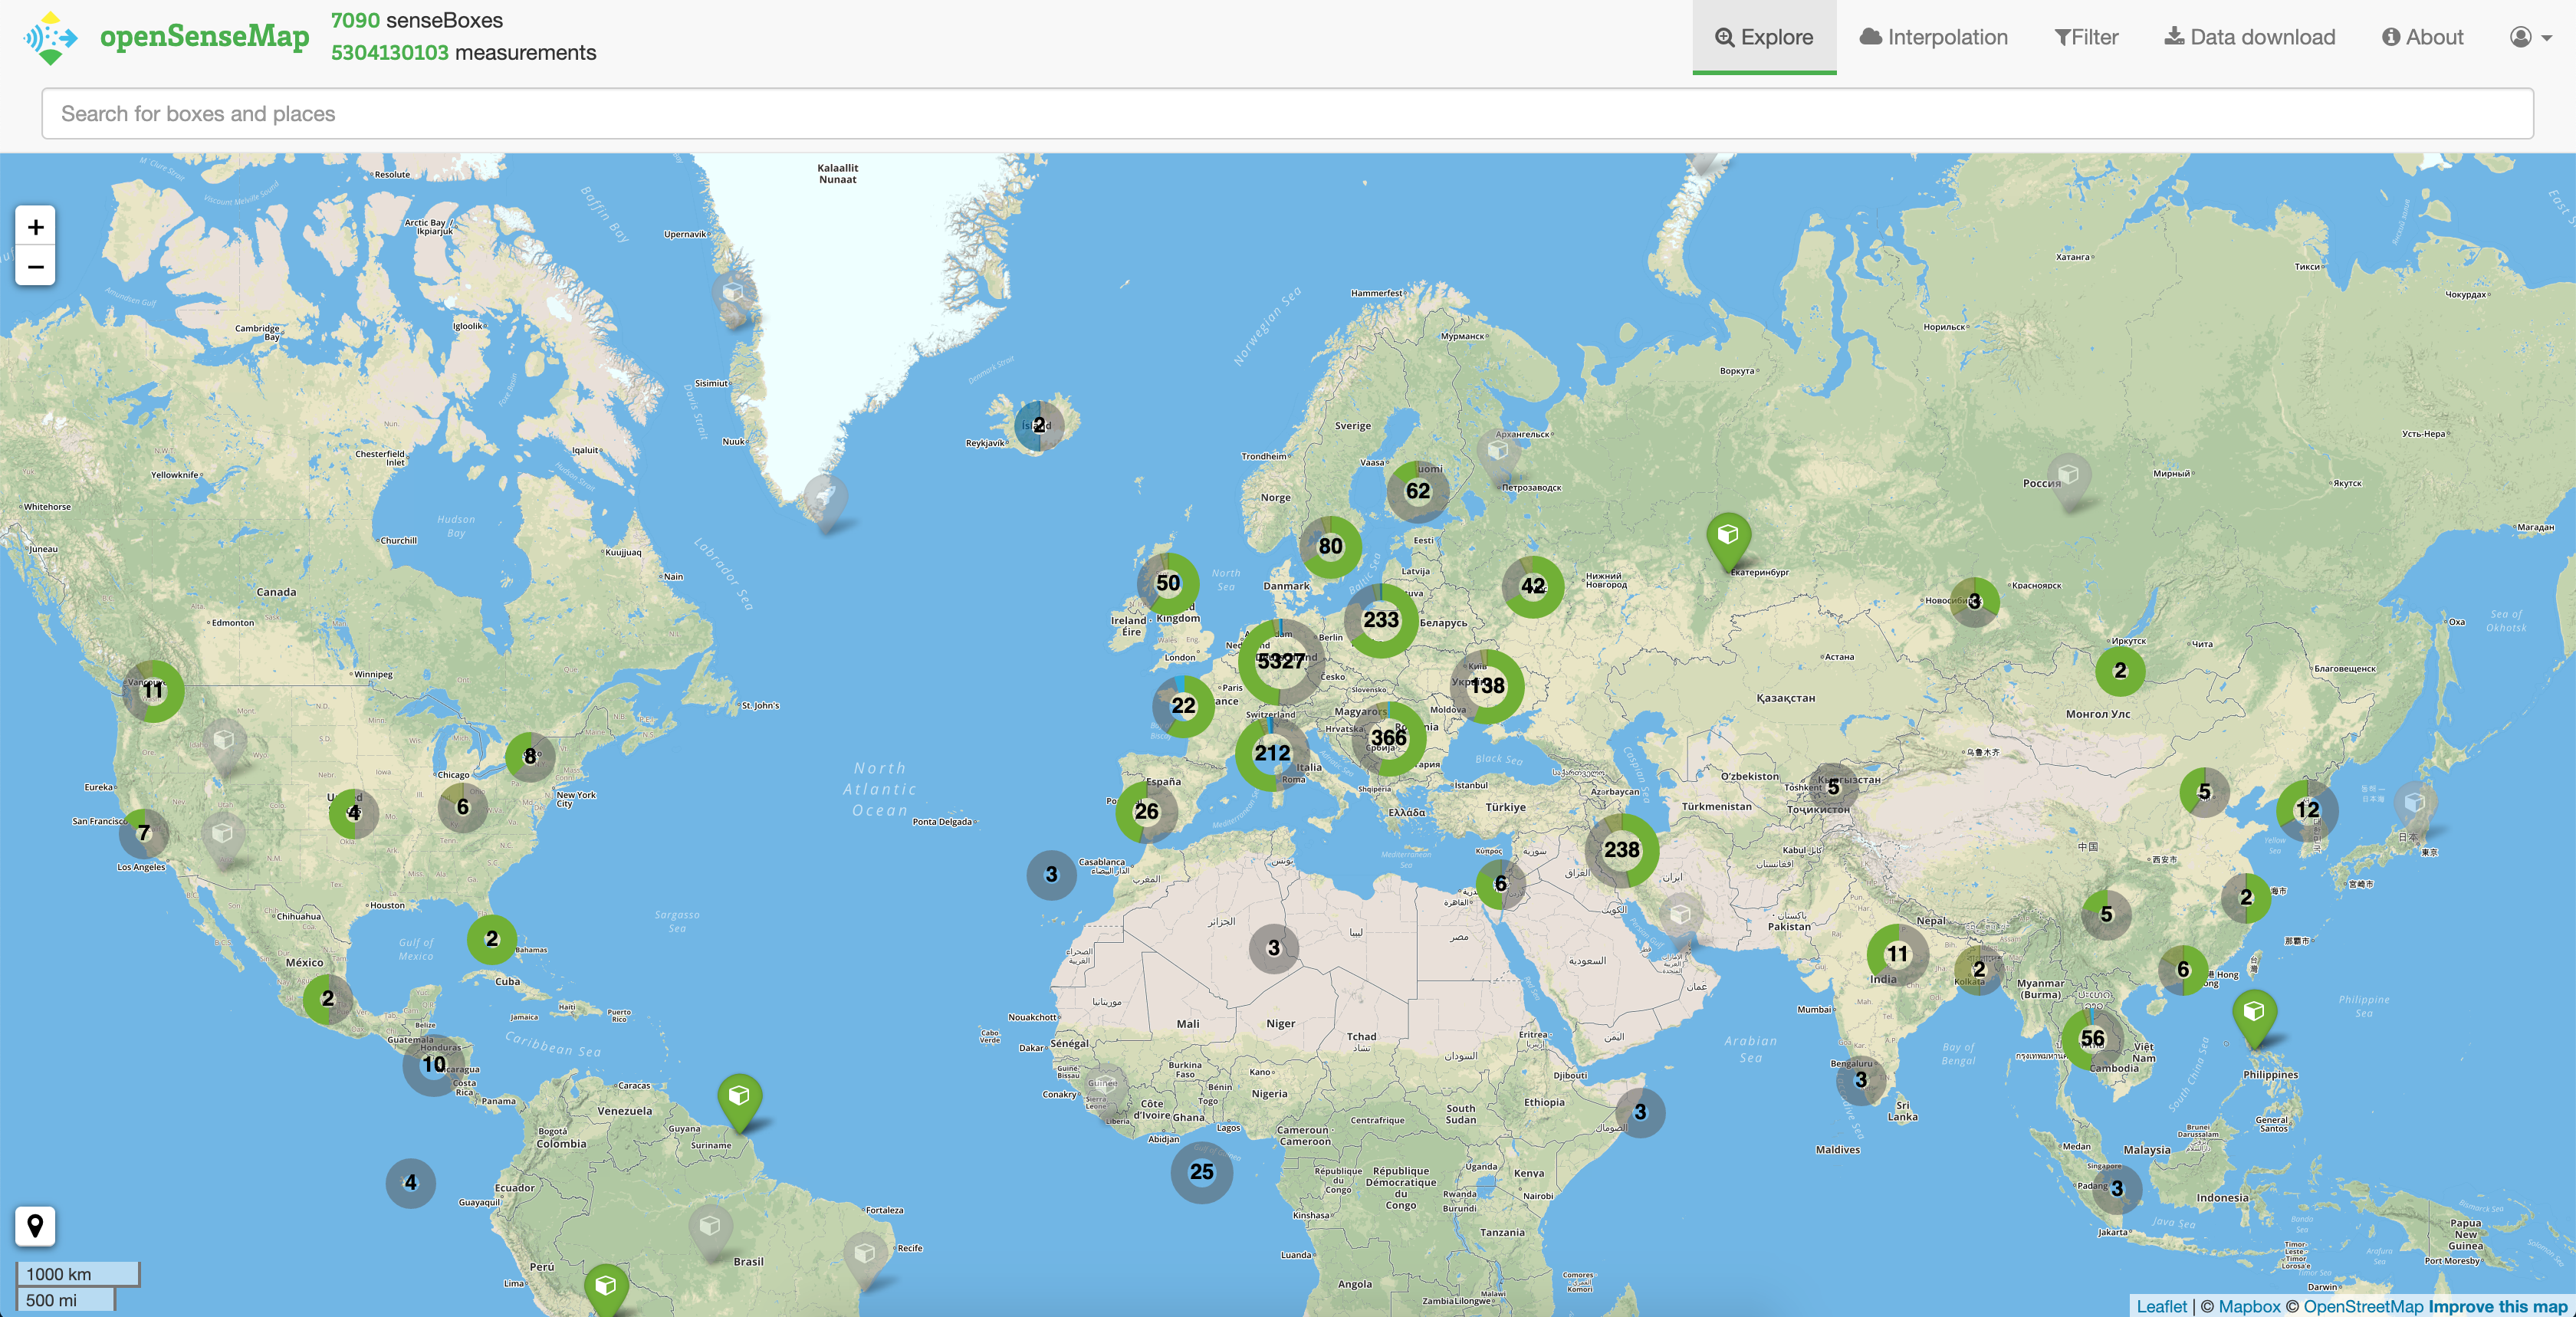
The openSenseMap is a platform to store, compare and visualize sensor data. It is best to have a look at it. Go to www.opensensemap.org and discover a huge pool of sensor data from all over the world. Not only senseBoxes send data to the openSenseMap, but also other microcontrollers with sensors. How the individual functions of the openSenseMap and their interfaces work, you can find here.
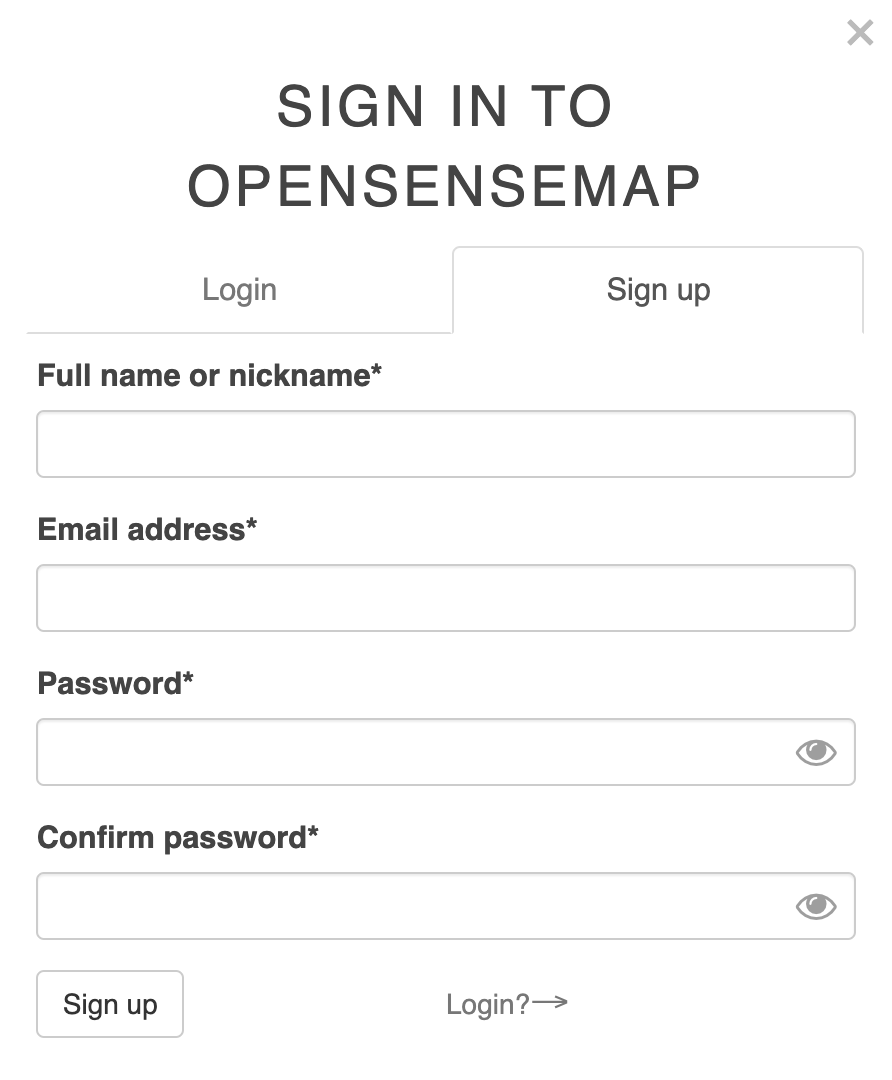
Go to www.opensensemap.org and create an account. To do this, click on “Login” in the top right corner and then go to “Sign up”. You need a valid e-mail address to register. After successful registration you will receive an e-mail with a confirmation link. Please click on the link to complete the registration.
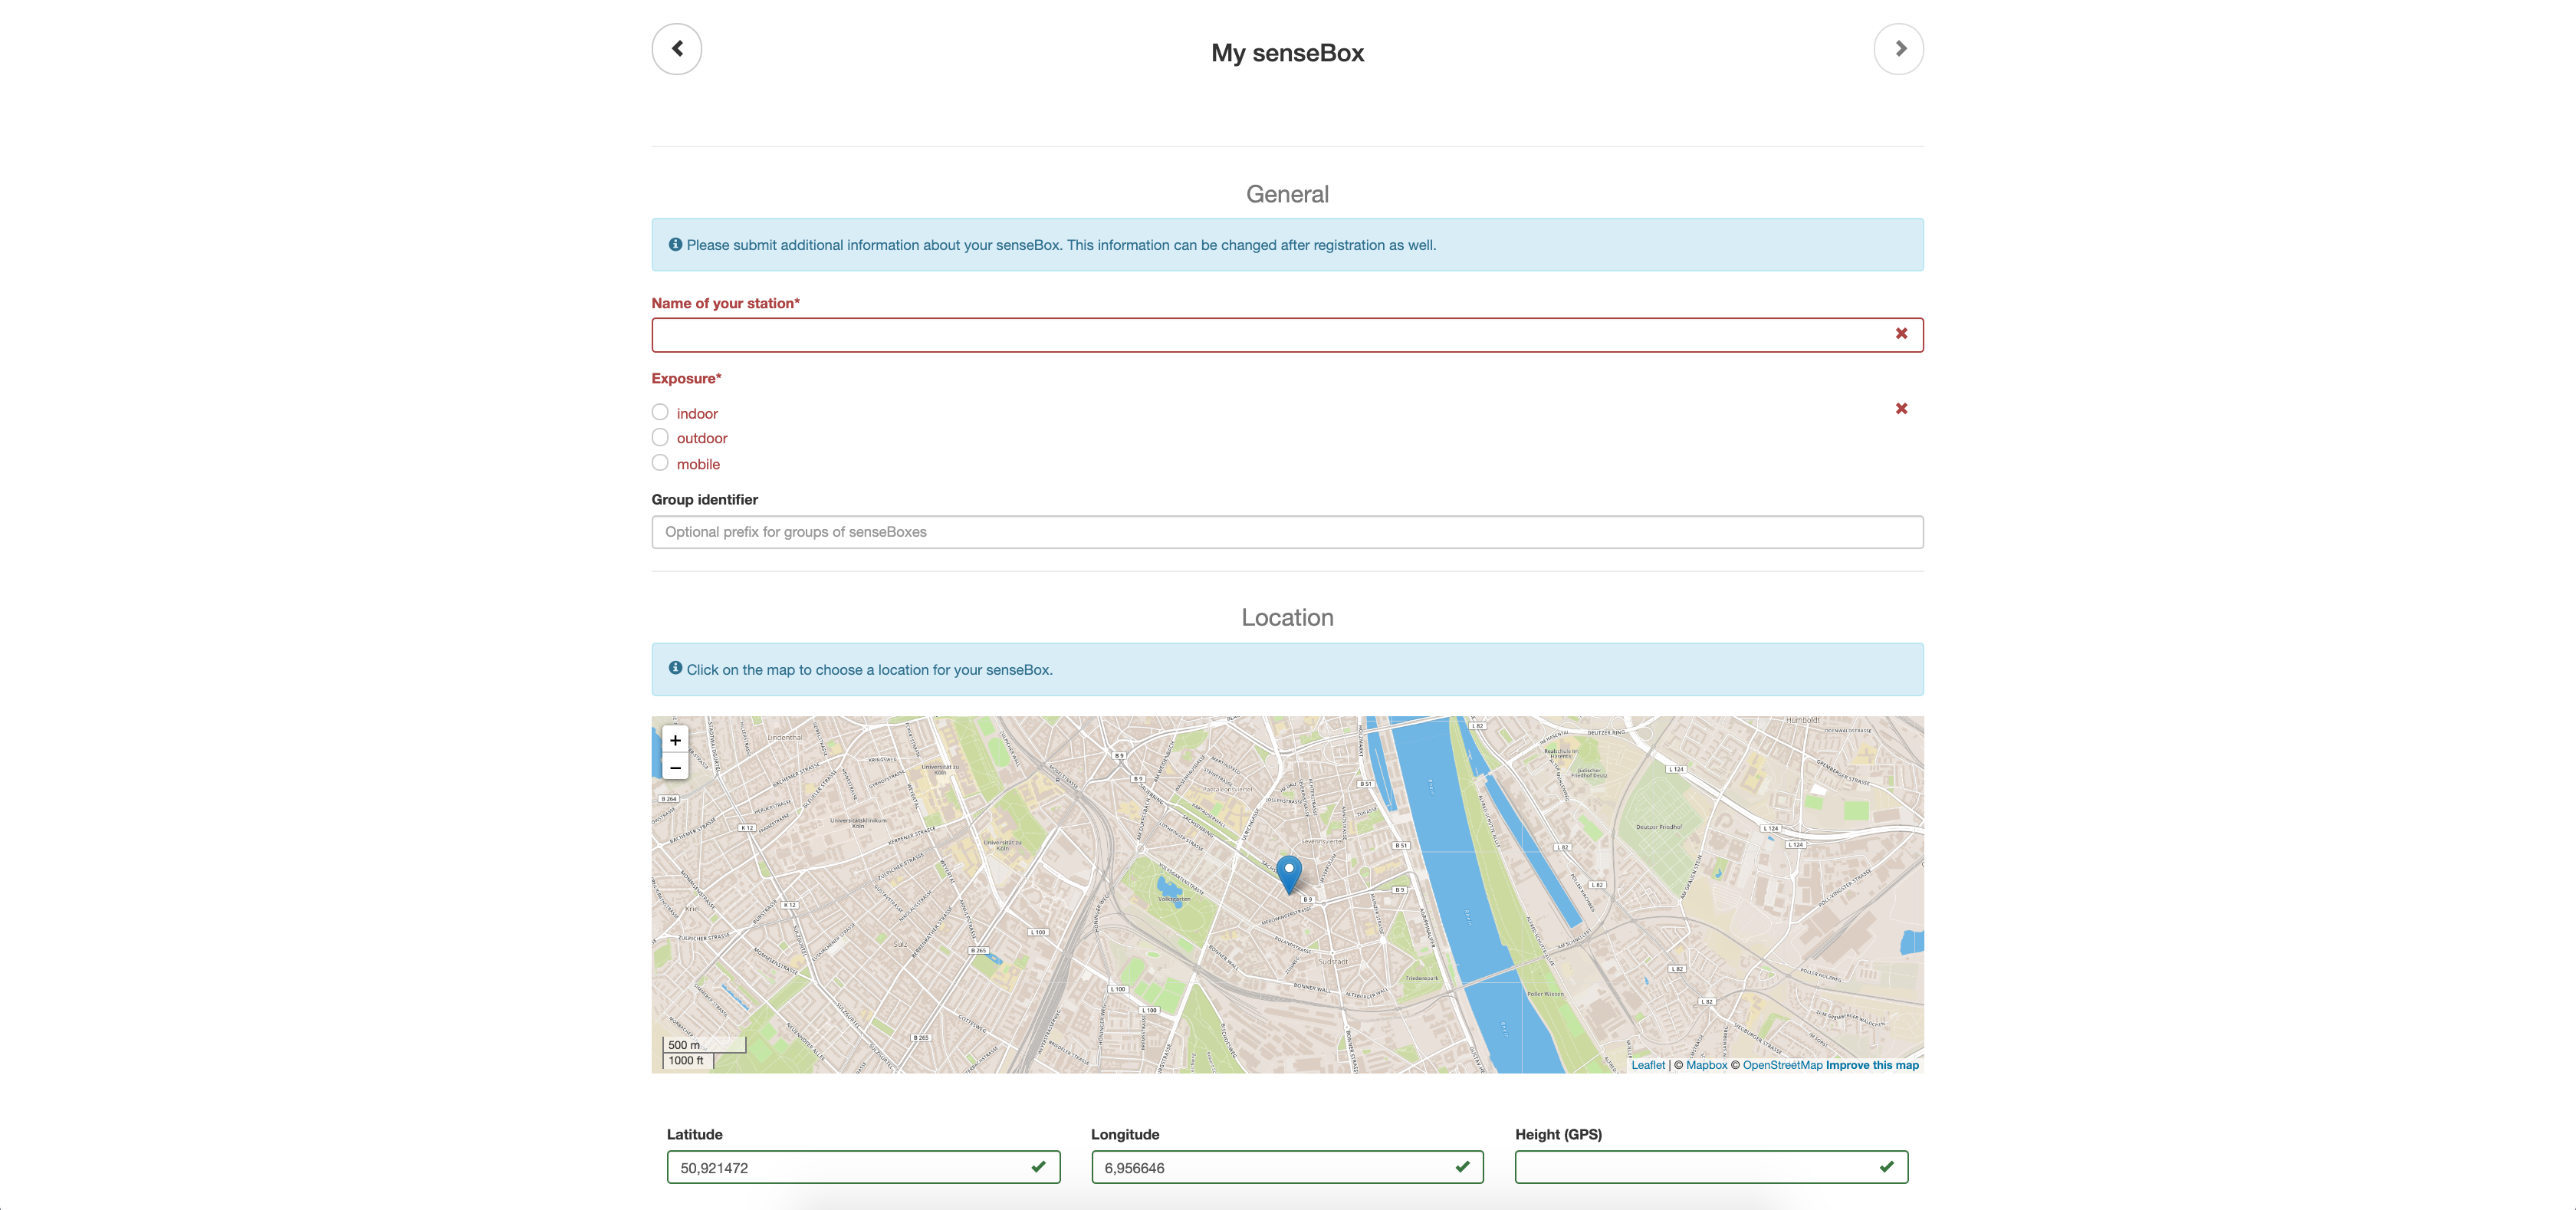
After the successful registration you can start creating your senseBox. To do so, click on “New senseBox” in your menu and confirm the terms of use. Then follow the instructions of the registration and enter the following data:
Since the openSenseMap is open for all kinds of senseBoxes, you will be asked for the hardware used. Select senseBox:home V2 and the data transfer module you are using. If you want to send your data via LoRa to the openSenseMap, select LoRa at “connection type”. Then you can specify your Lora settings in the “Advanced” tab. Here you have to enter the Application-ID and Device-ID which you have entered at TheThingsNetwork. More information can be found here
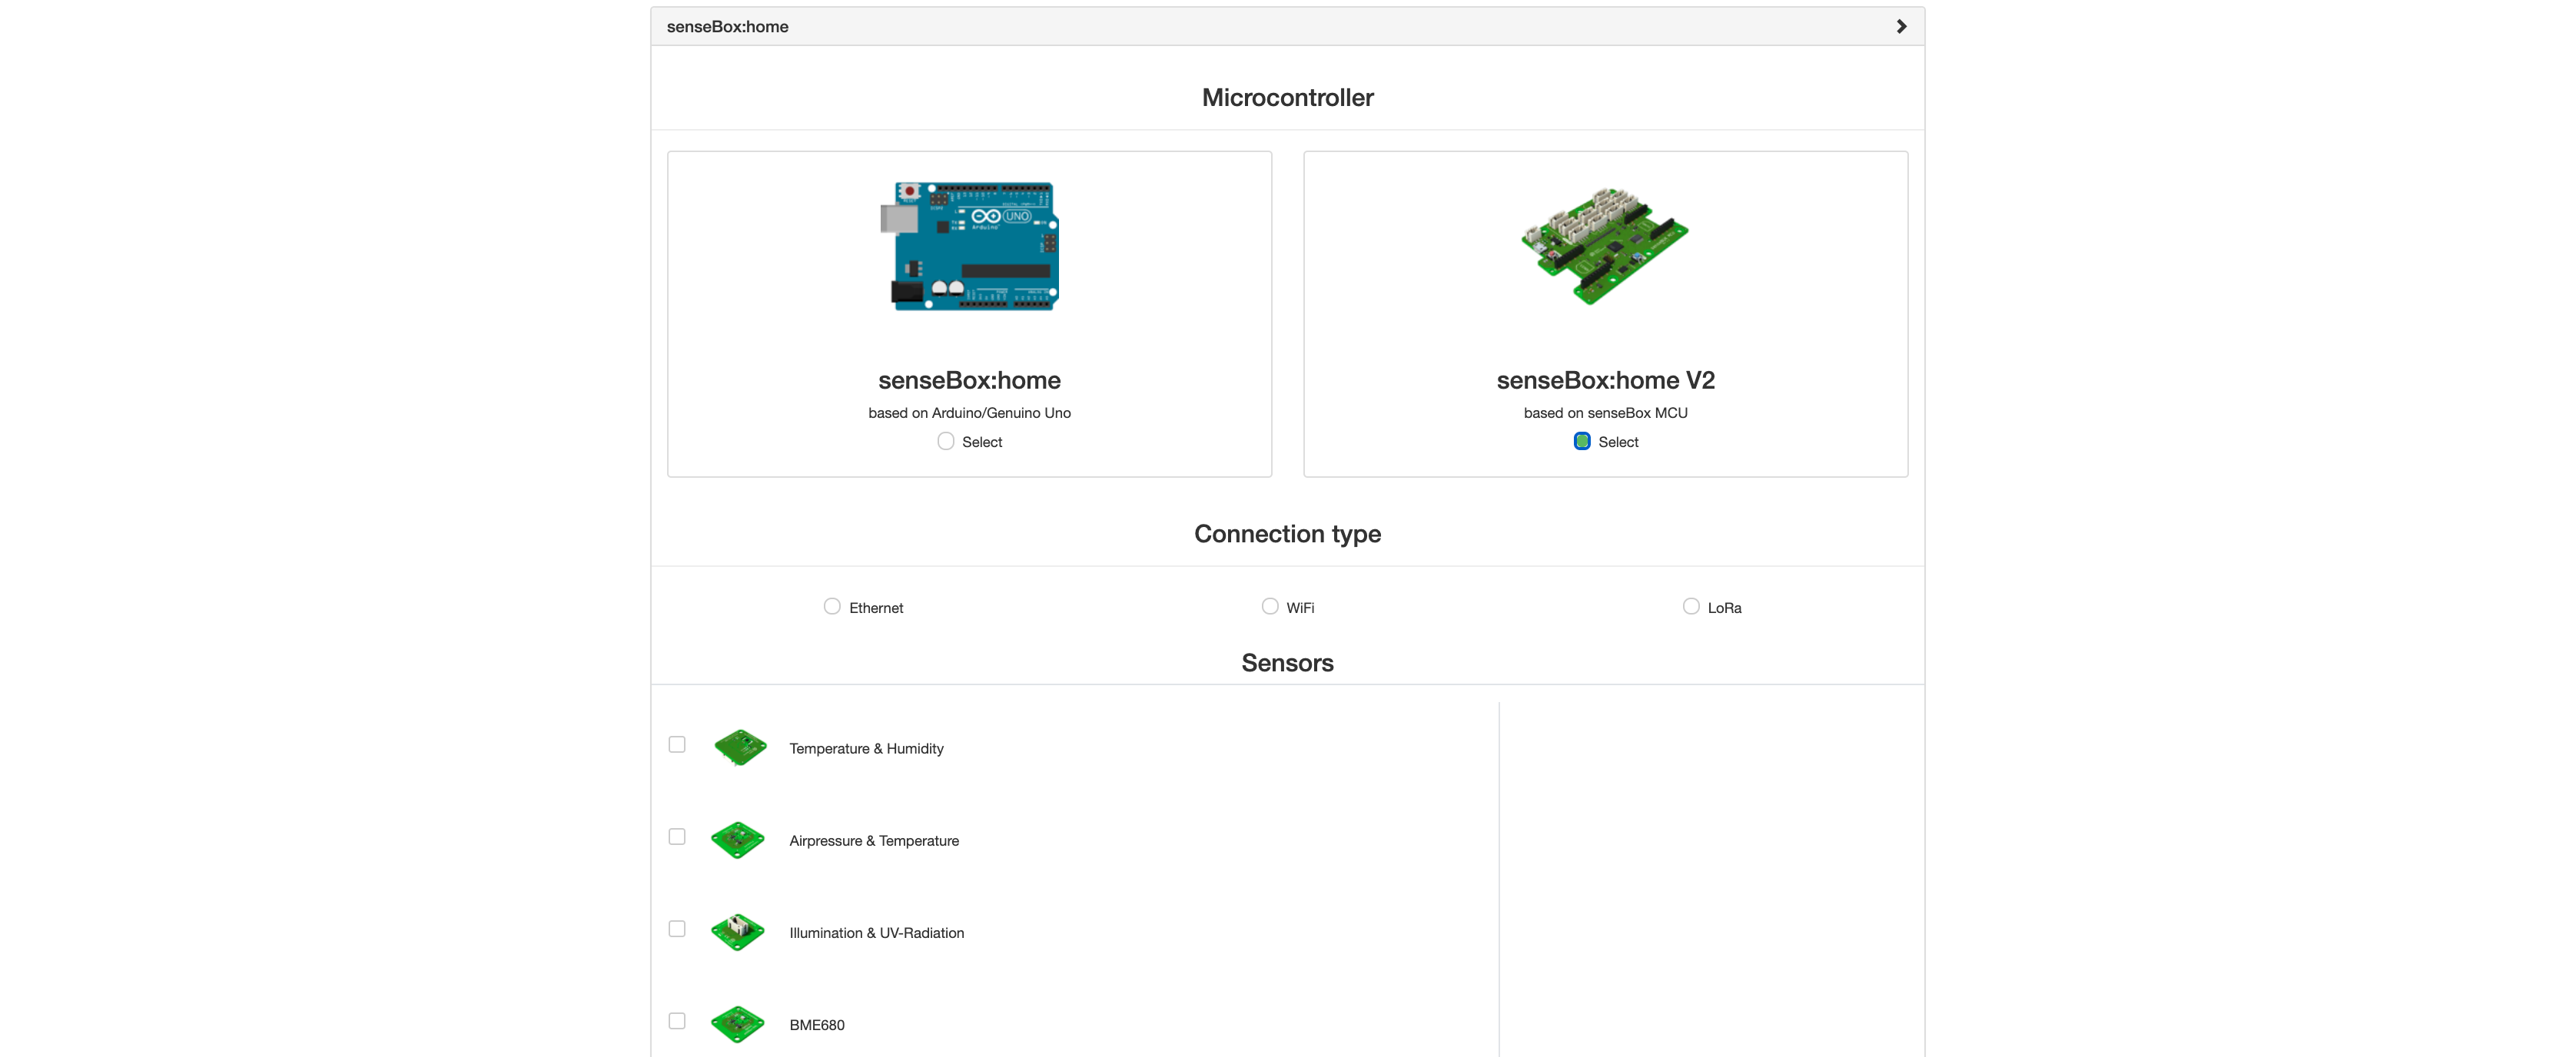
For some sensors you still have to select to which port you have connected them.

Once you have completed the registration process, you will have to agree to the publication of your data again. Afterwards you will receive an overview of your registration. There you will see your senseBox ID, your sensor IDs and the Arduino code.
The senseBox ID is a unique identifier of your senseBox. You can use it to find your senseBox e.g. via the URL (opensensemap.org/explore/ENTER HERE YOUR-SENSEBOX-ID) or in records. Furthermore it is used for various applications and functions around the senseBox and the openSenseMap.
Verschiedene weiterführende Anleitungen für die senseBox:home
Step 1 for setting up the senseBox:home.
Step 2 for building the senseBox:home
Step 3 for building the senseBox:home
Assembly of the senseBox:home in German language