1. senseBox:home with LoRa
Send senseBox:home data via LoRa
Information on the setup & extensions
If you want so use LoRa with your senseBox:home the data is sent via the TheThingsNetwork (TTN), therefore in the first step a Device must be created and a forwarding (Integration) of the data to the openSenseMap must be set up. In principle, all sensors that can be selected directly via the openSenseMap can be used. Decoding takes place directly on the openSenseMap and does **no longer ** have to be set via the TTN Console.
Many gateways set up by different groups, associations or companies use TheThingsNetwork to receive and send data. To receive and process data within the network, an account must first be created and the devices registered.
In very many cities there is already a good LoRa coverage. You can find an overview of the coverage on ttnmapper.org.
Note that the coverage may not correspond to reality and the data may be out of date.
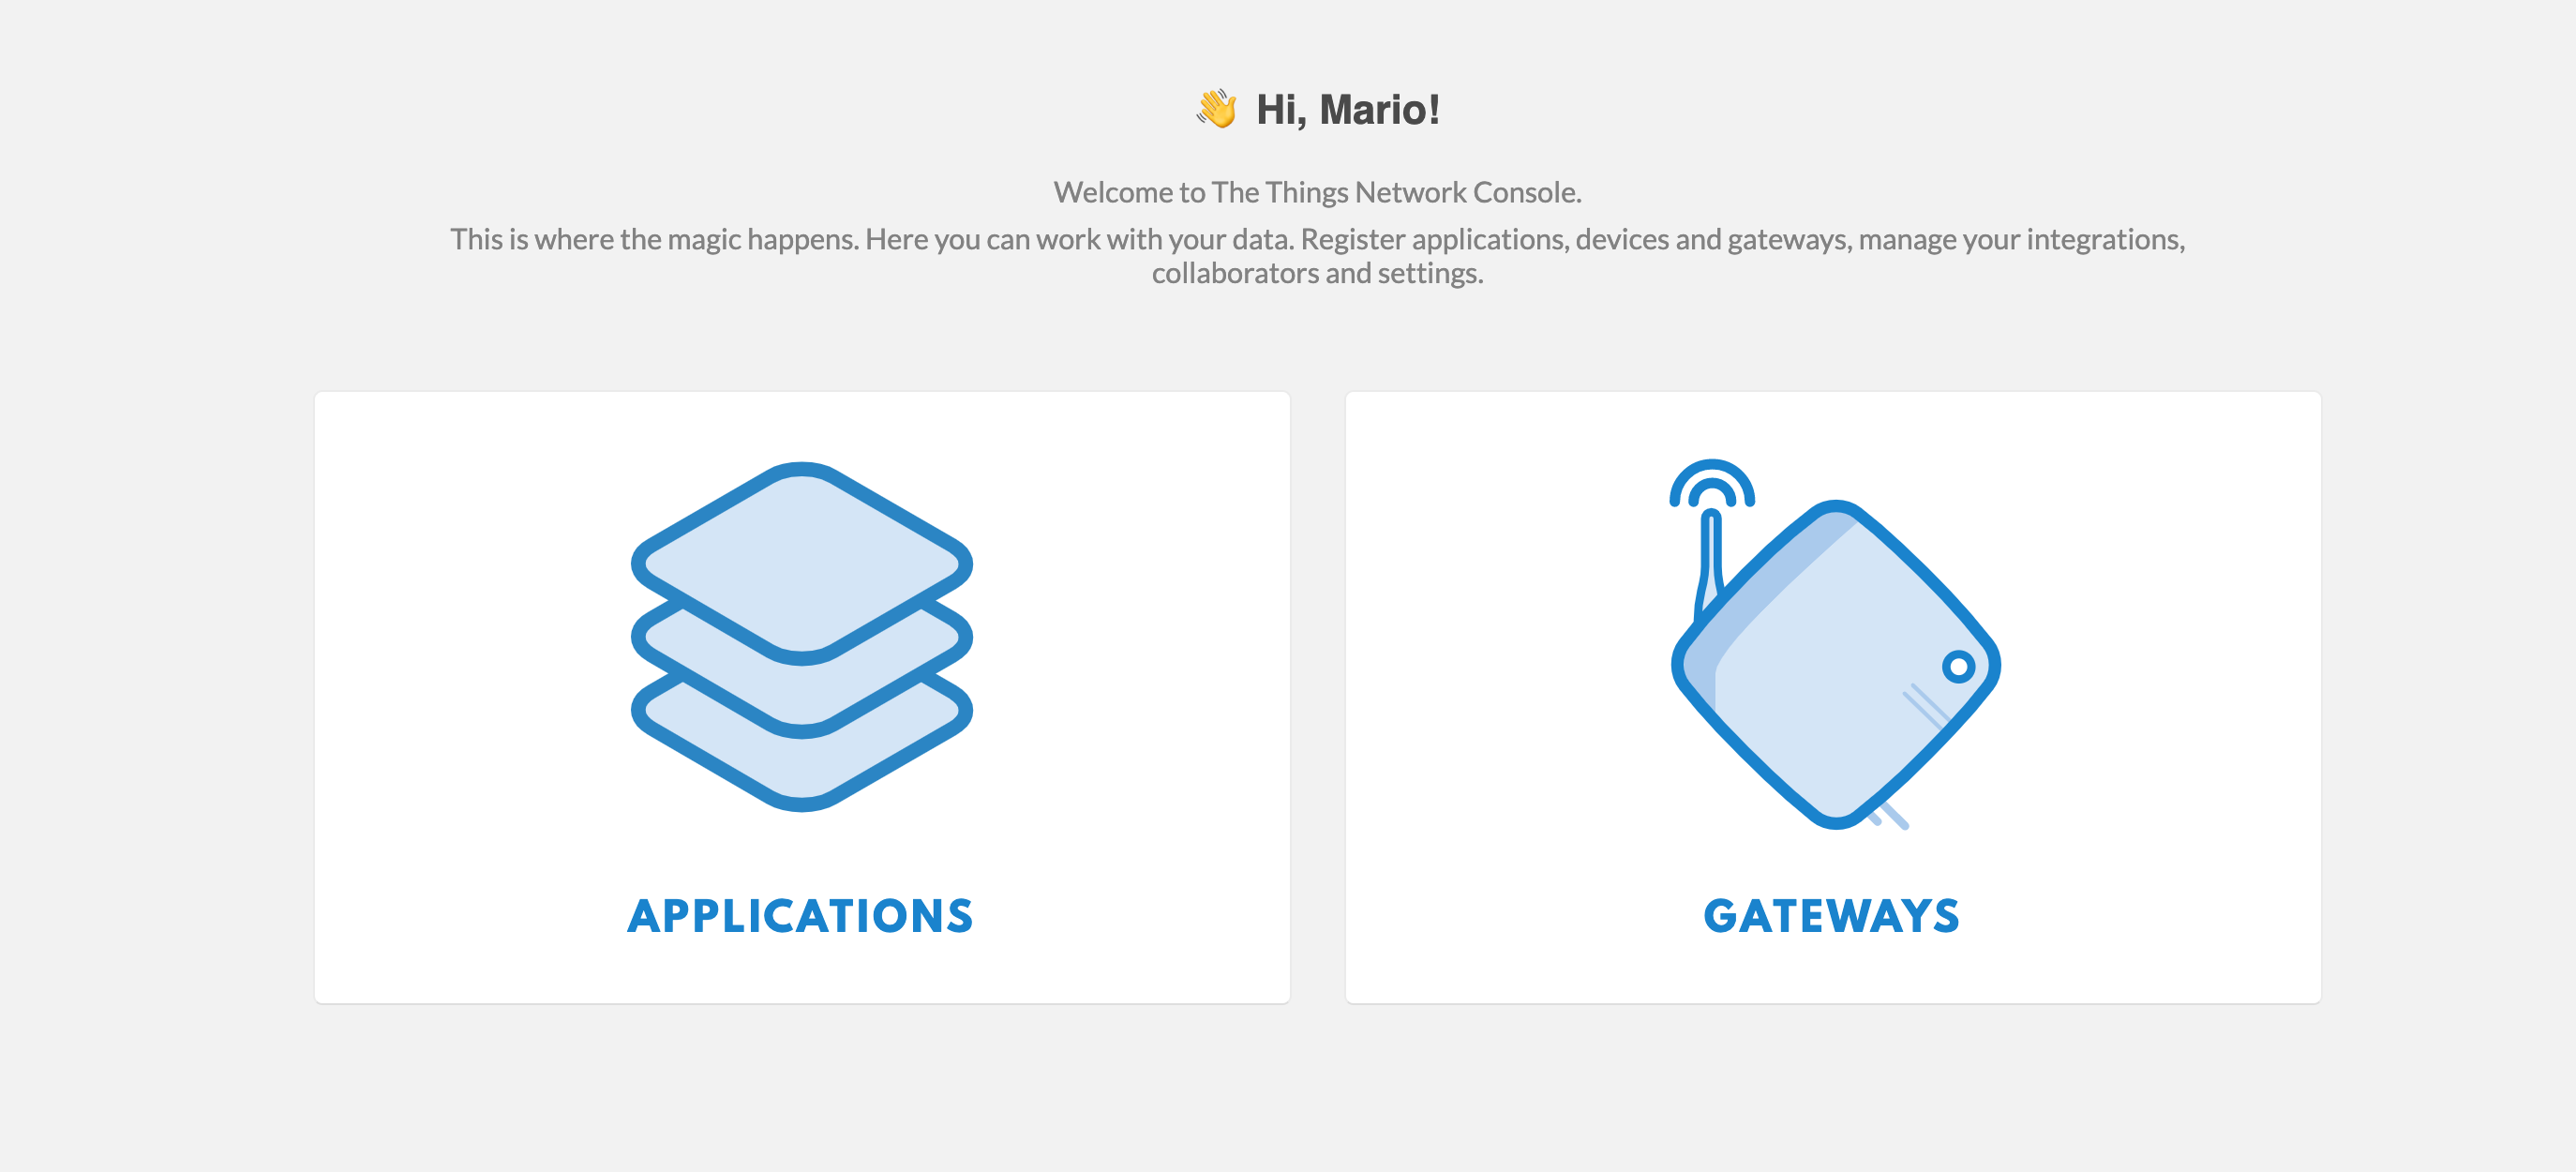
Create a new account at https://www.thethingsnetwork.org/. Then click on Console and select Applications.
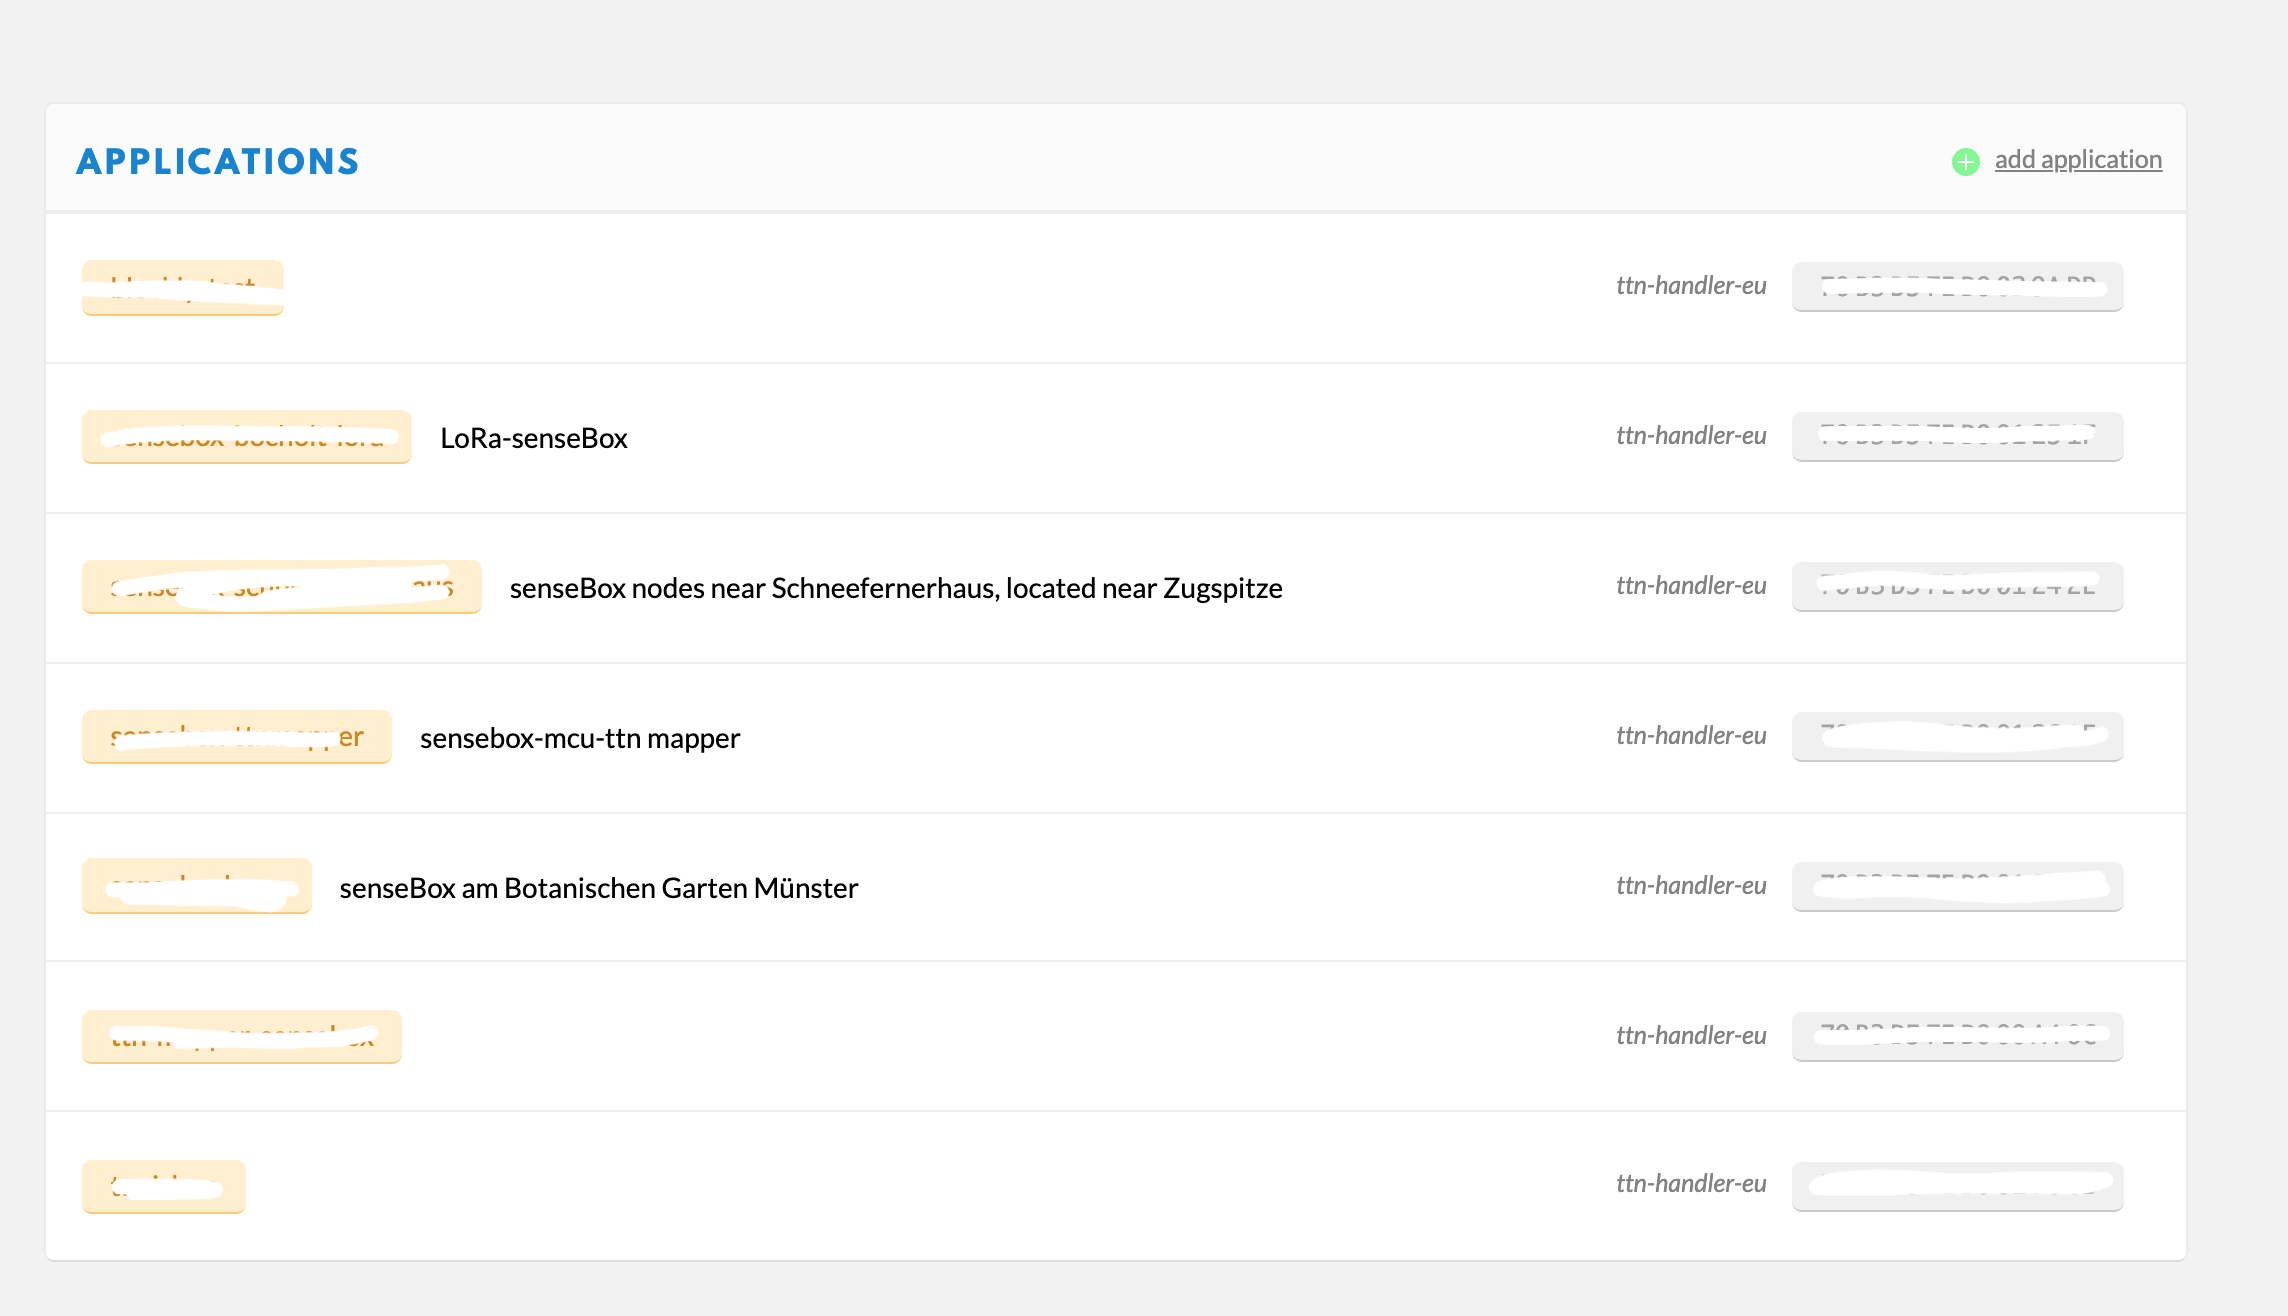
You get an overview of all already registered Applications and can add a new one via add Application in the top right corner.
Choose a name for your application and add a short description. All other parameters can remain unchanged.
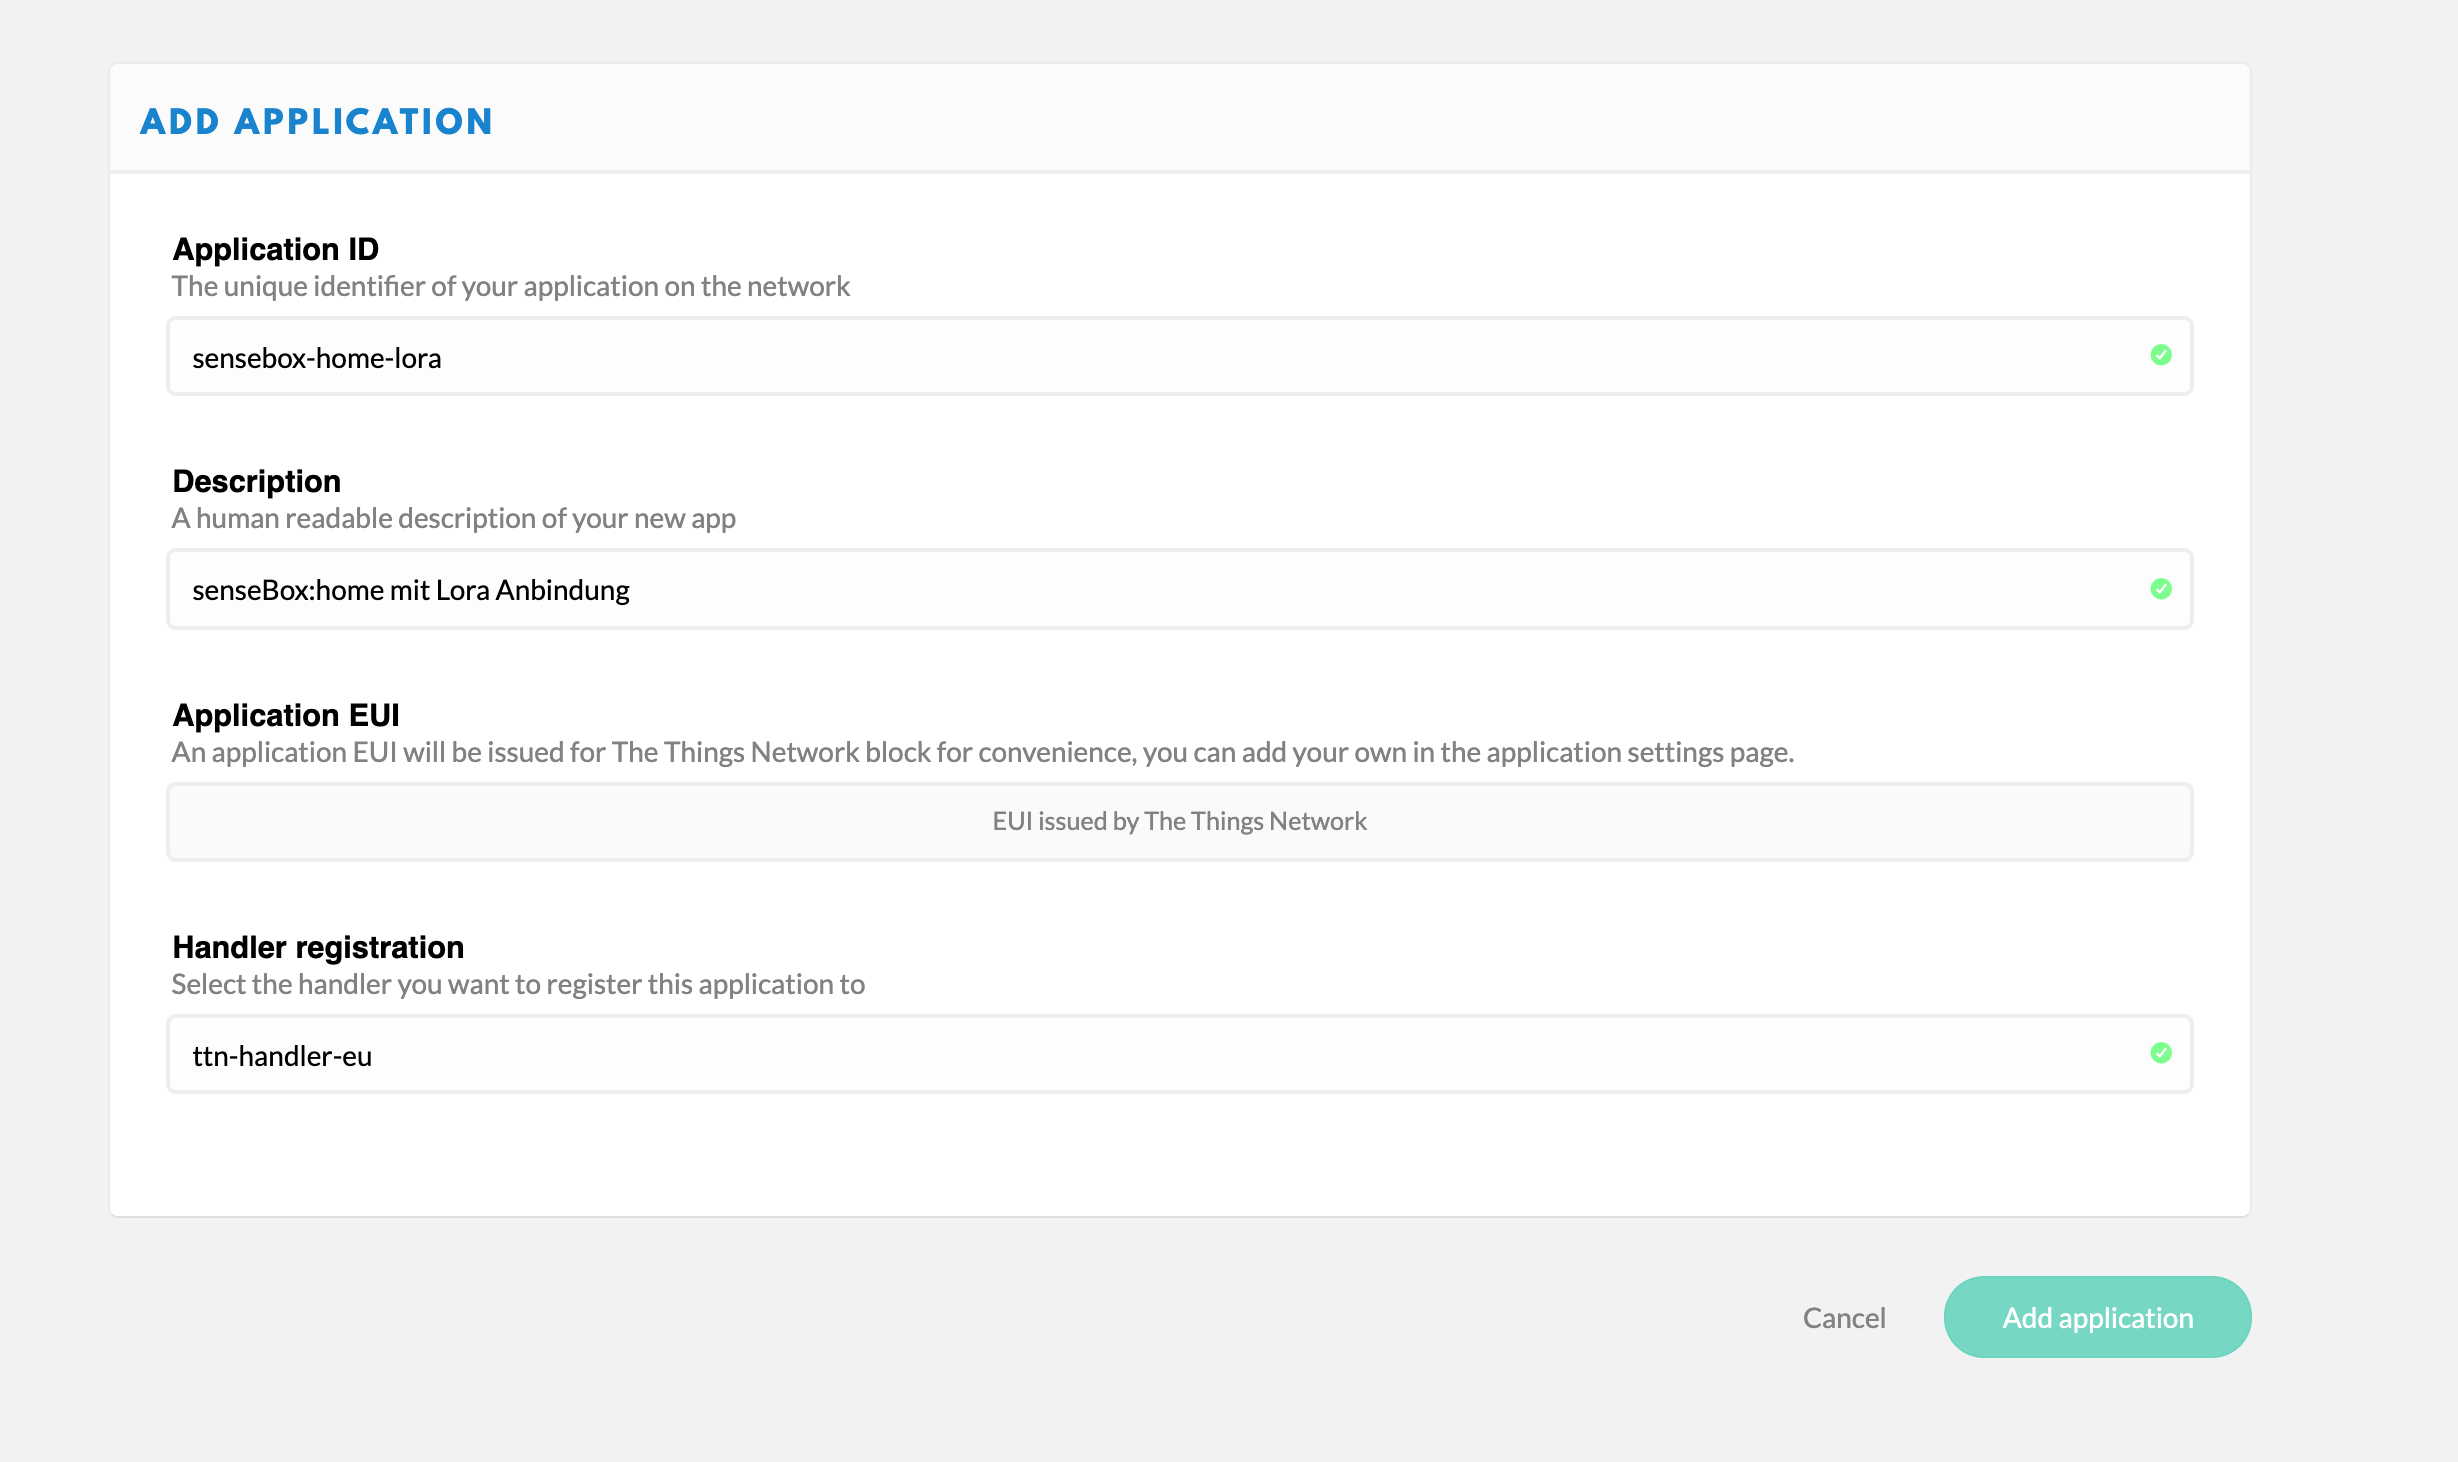
After a click on Add Application you get to the overview page.
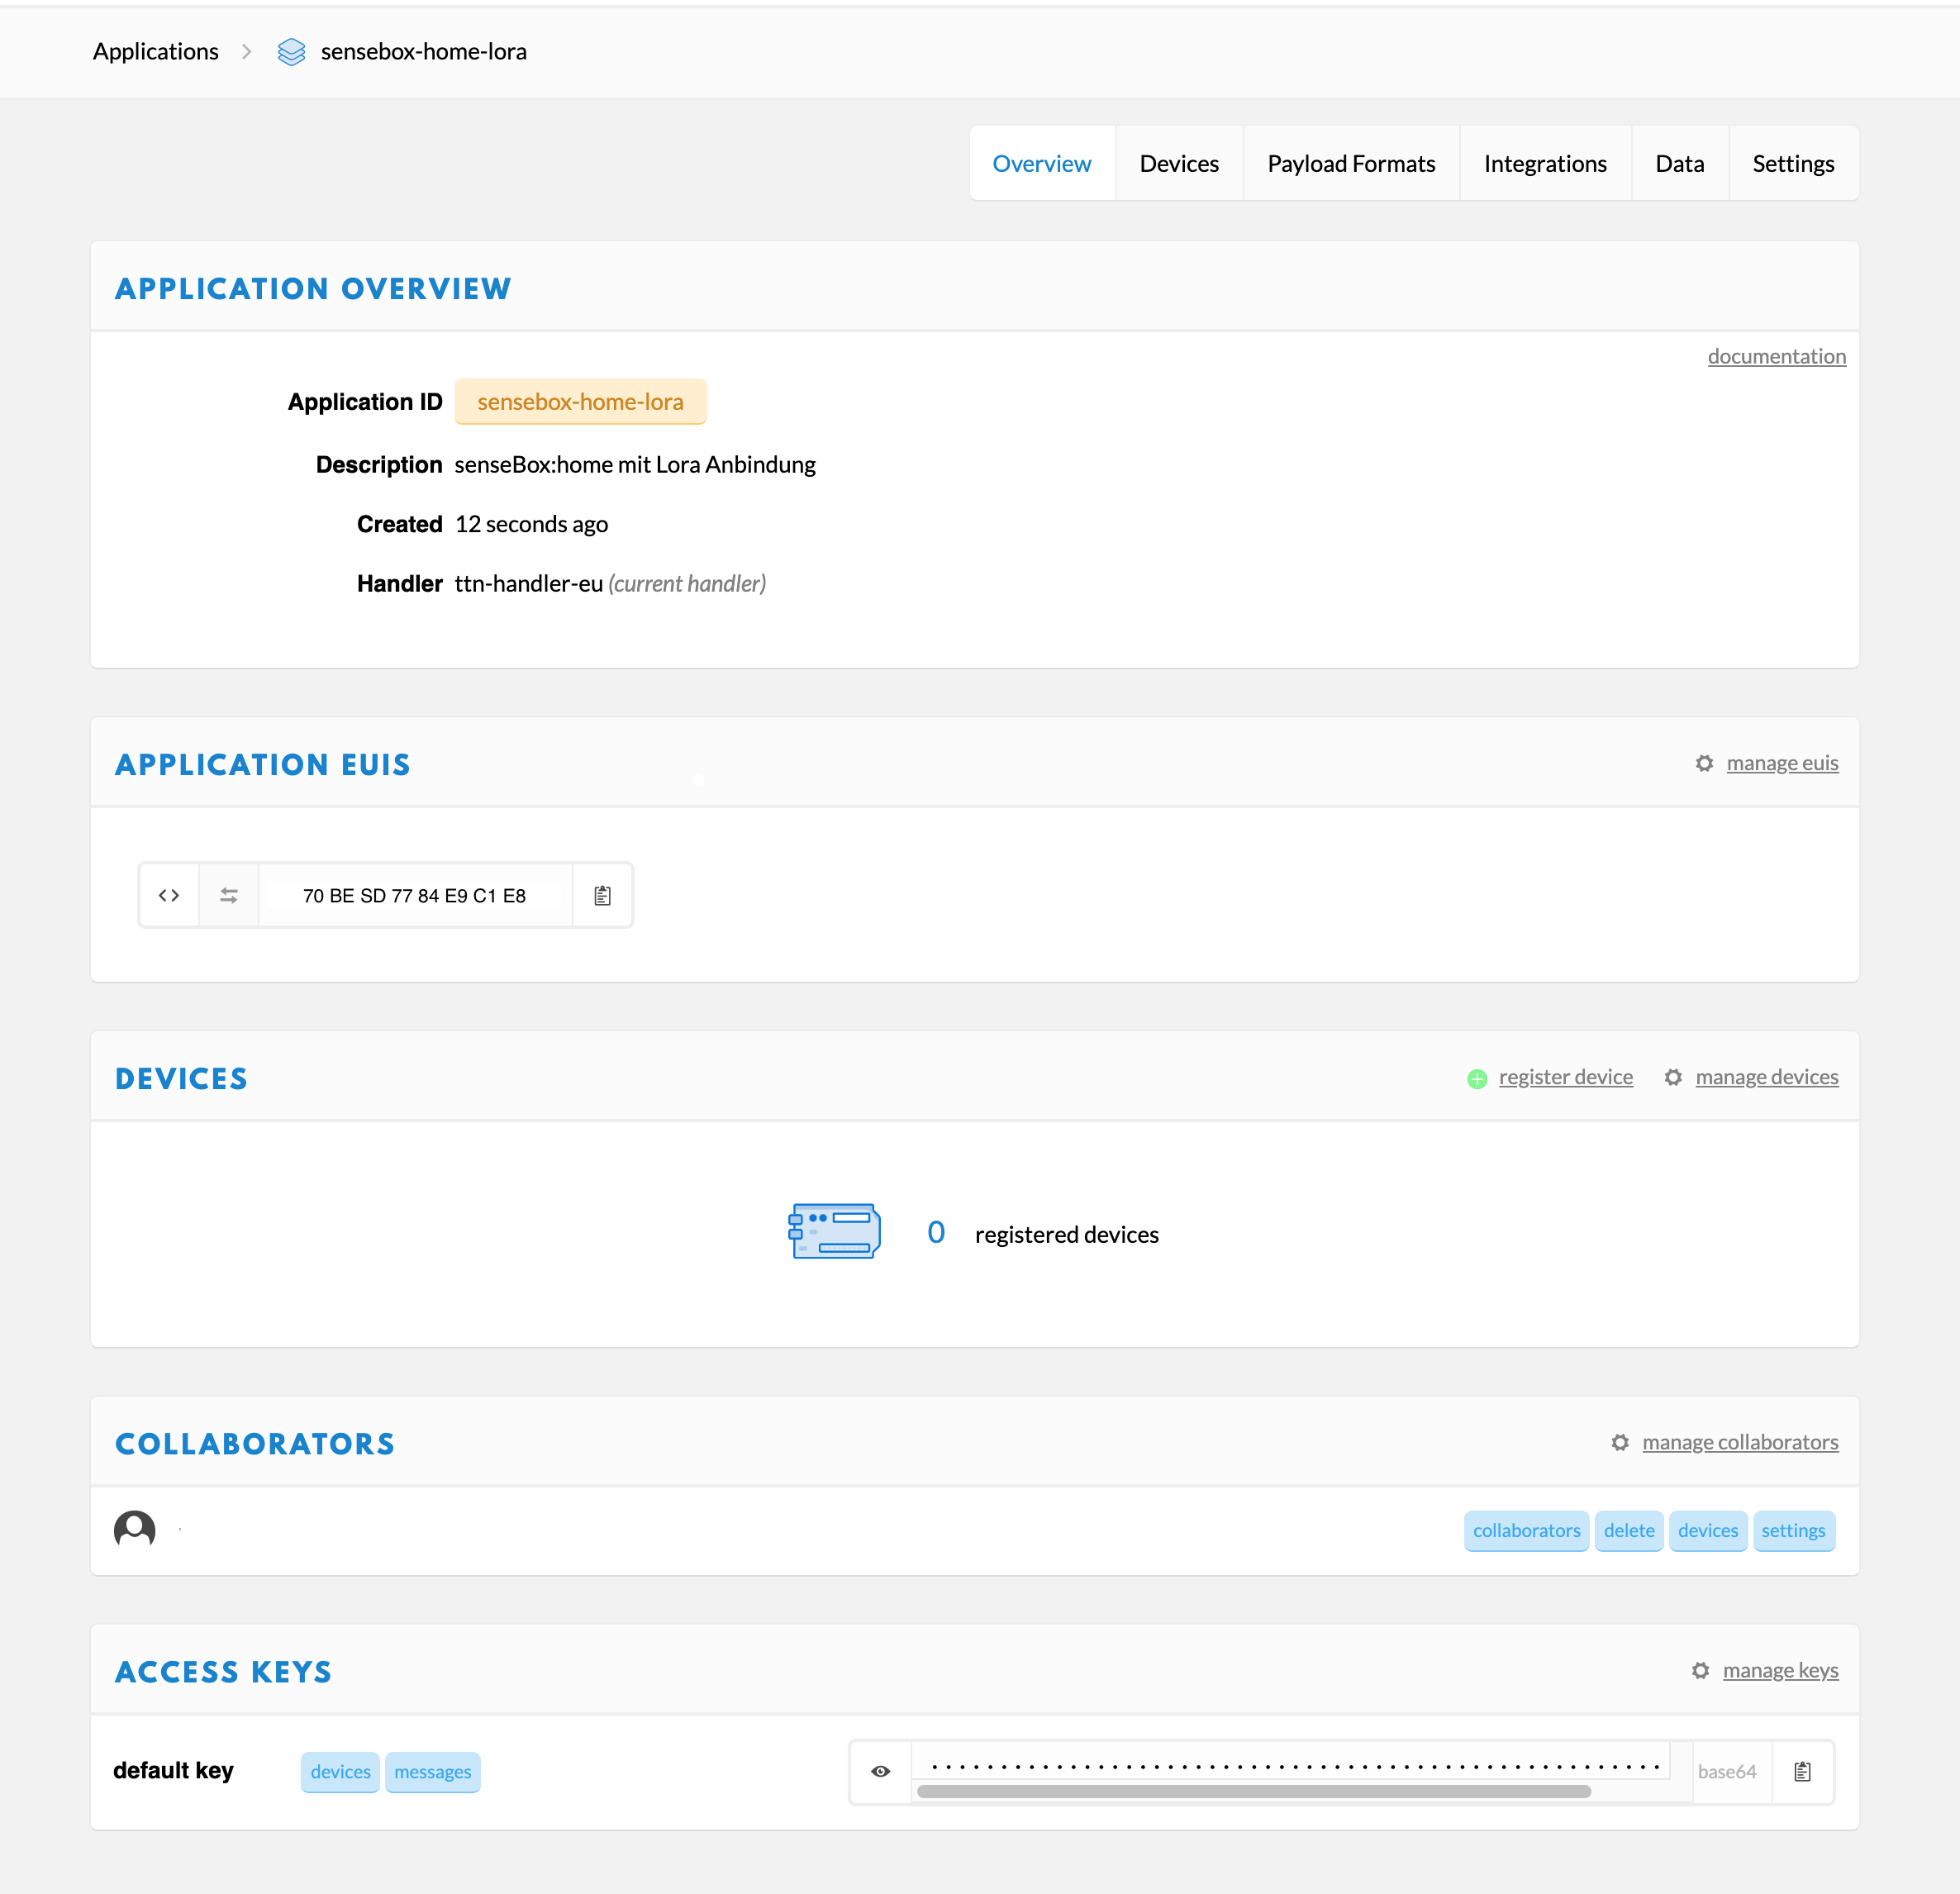
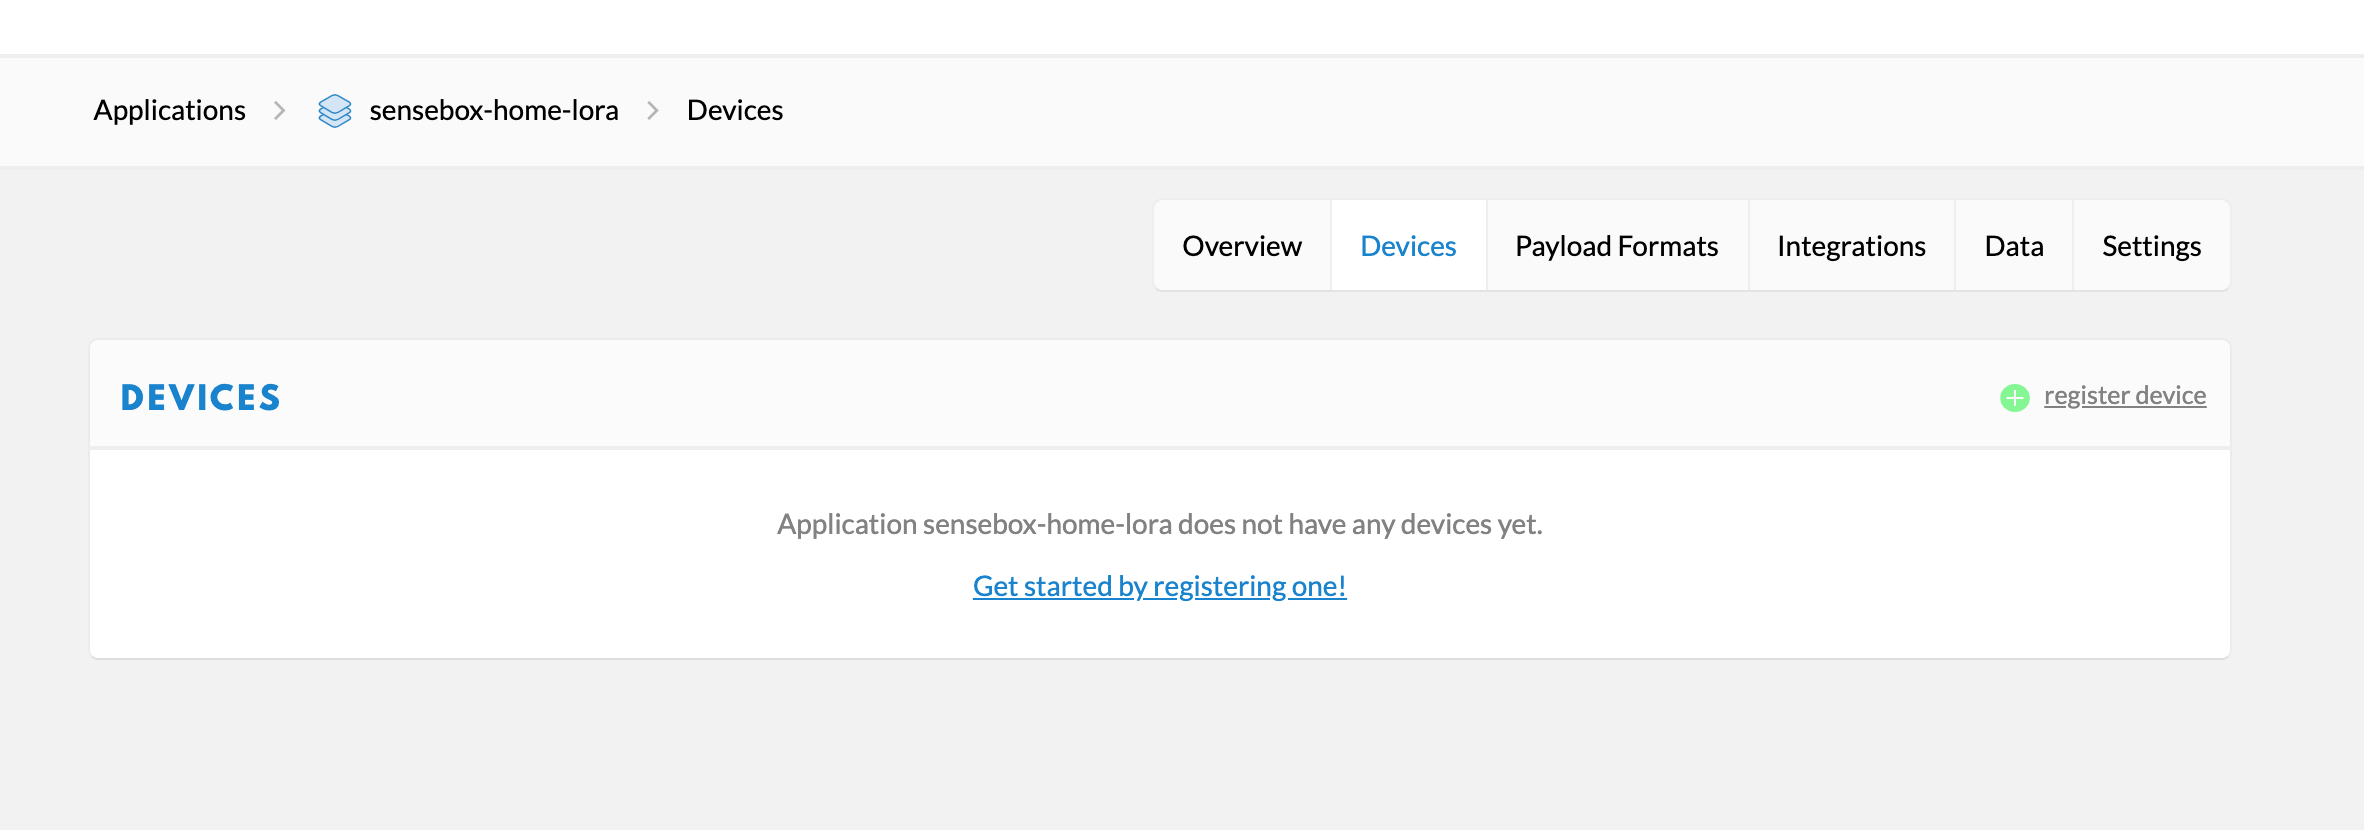
Several Devices can now be registered within an application. Click on Devices and select register Device.
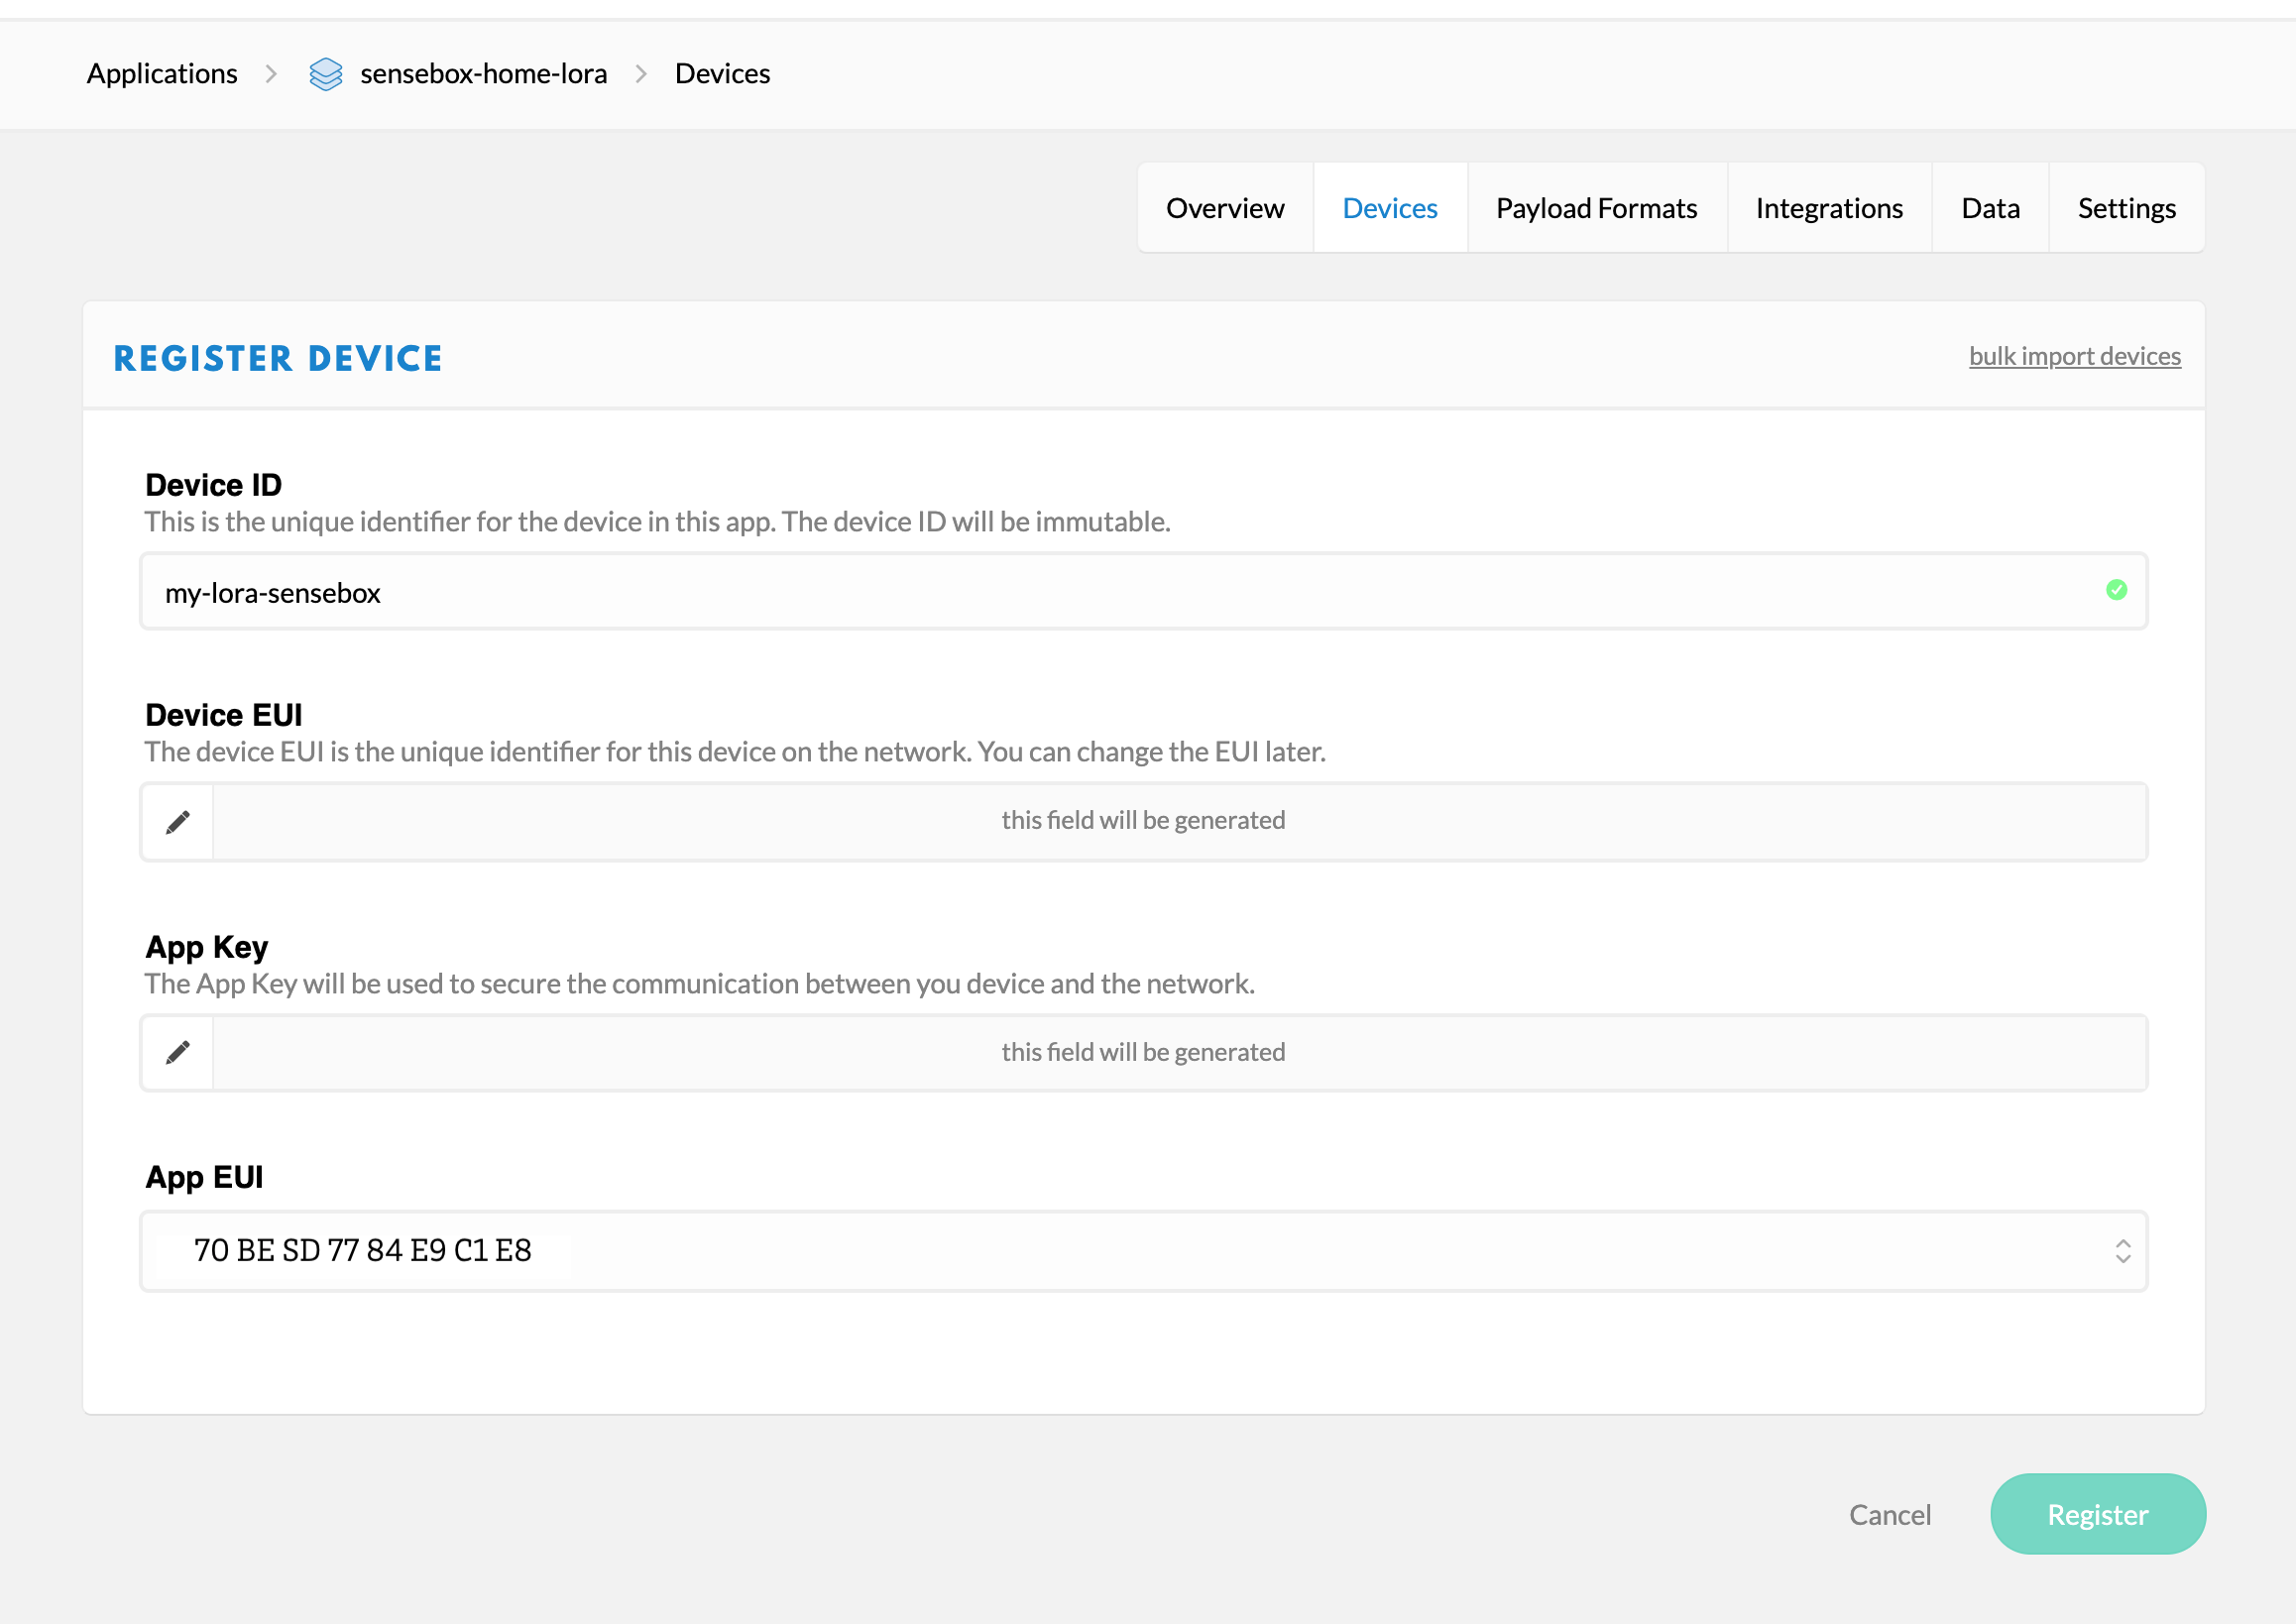
Give your device a one-time ID. The Device EUI, the APP Key and also the APP EUI are needed later and are generated automatically.
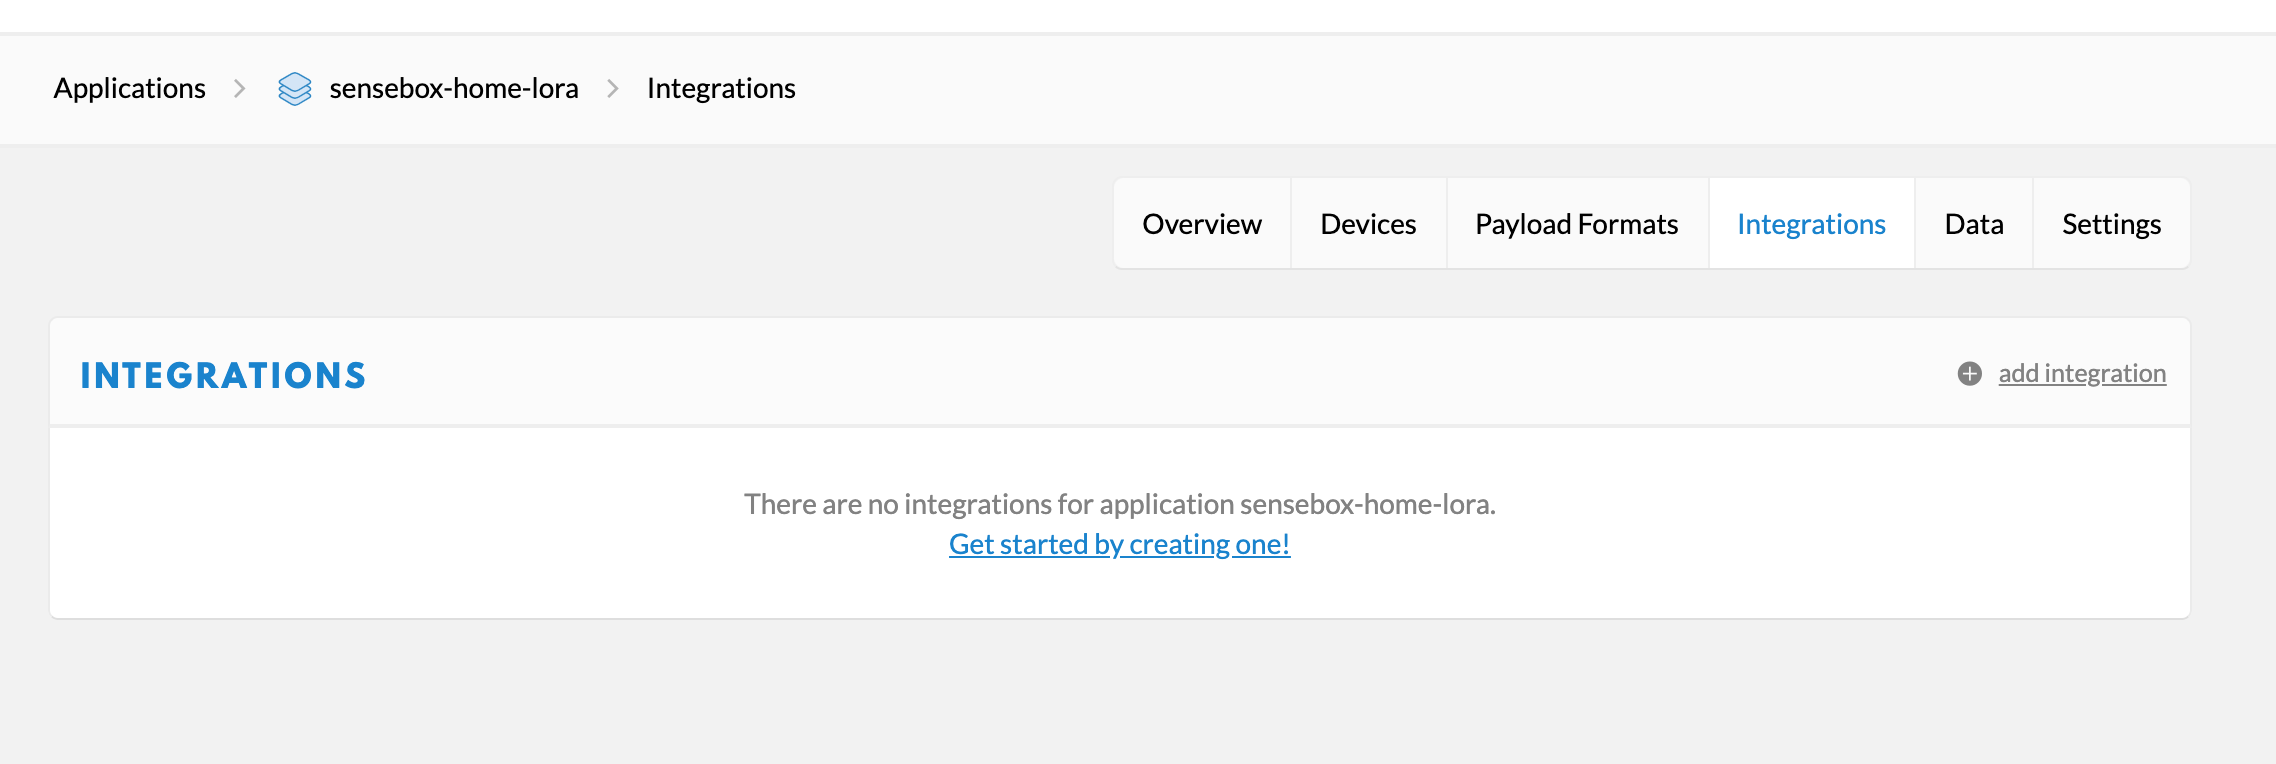
The data is sent via TheThingsNetwork as simple bytes and from there it is forwarded to the openSenseMap. For this forwarding to take place click on Integrations and then create a new integration.
Predefined Integrations are already created for some services. For the forwarding to the openSenseMap we use the simple HTTP integration.
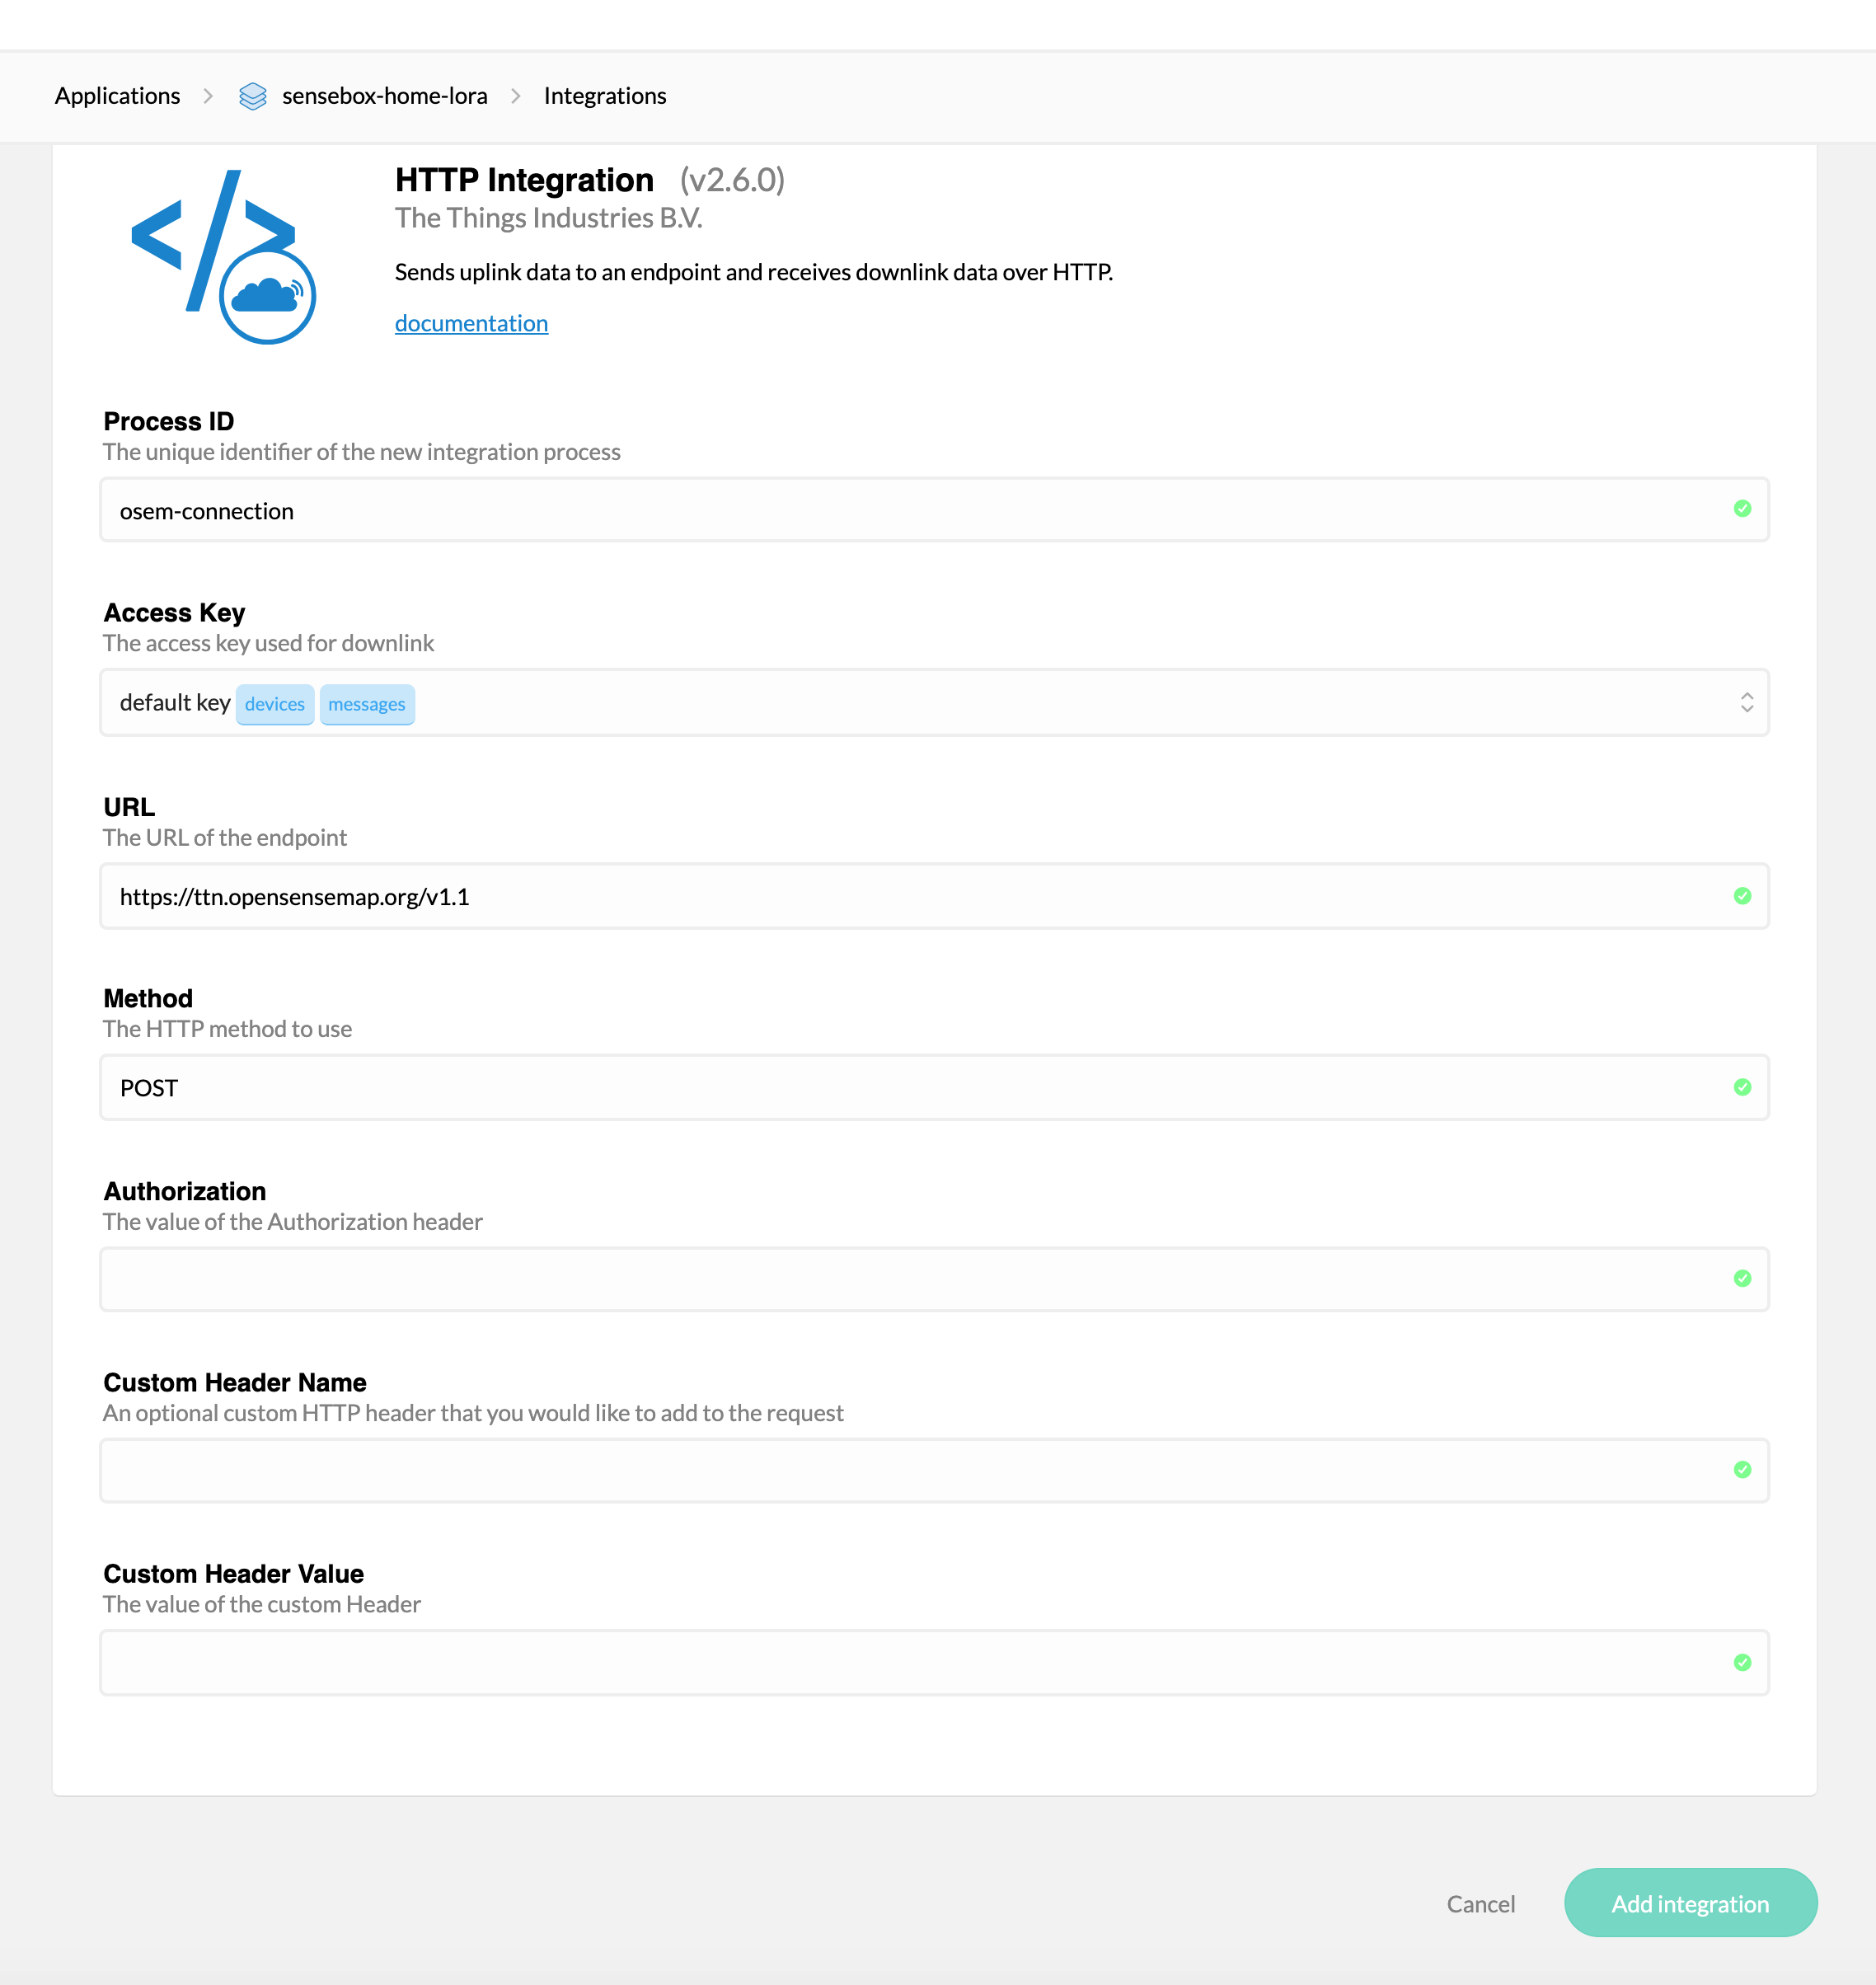
Give the integration a name and enter it under Process ID. Select the default key as Access Key. The URL for the integration is ‘https://ttn.opensensemap.org/v1.1’. All other parameters can remain unchanged.
The registration to TheThingsNetwork is now complete.
The registration on the openSenseMap is done as described here. Select LoRa under connection type and add the sensors you connected to your senseBox in the first step.
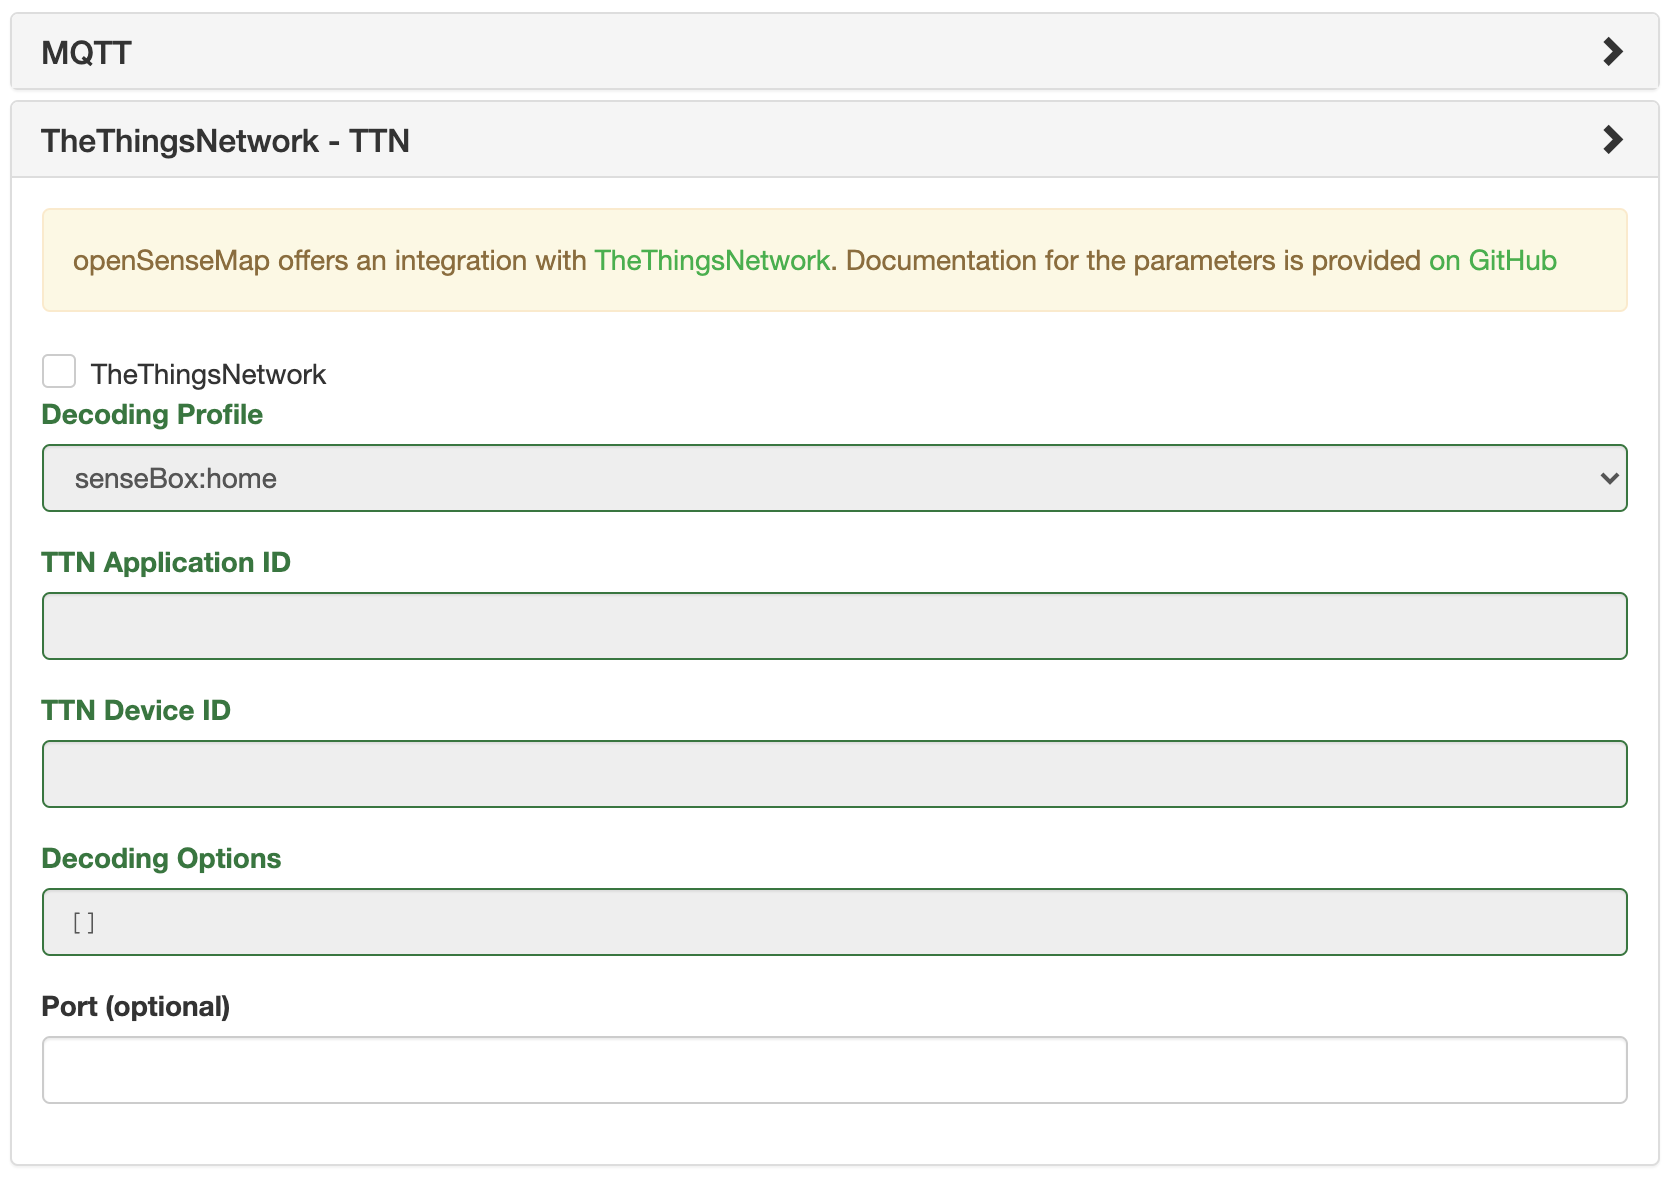
In order for the connection between TheThingsNetwork and the openSenseMap to work correctly, the next step is to select senseBox:home as decoding profile. Add your TTN Application ID and your TTN Device ID. Click on continue to complete the registration.
After the registration you can compile your program code for the senseBox on the openSenseMap. Therefore you do not need to install any software on your computer.
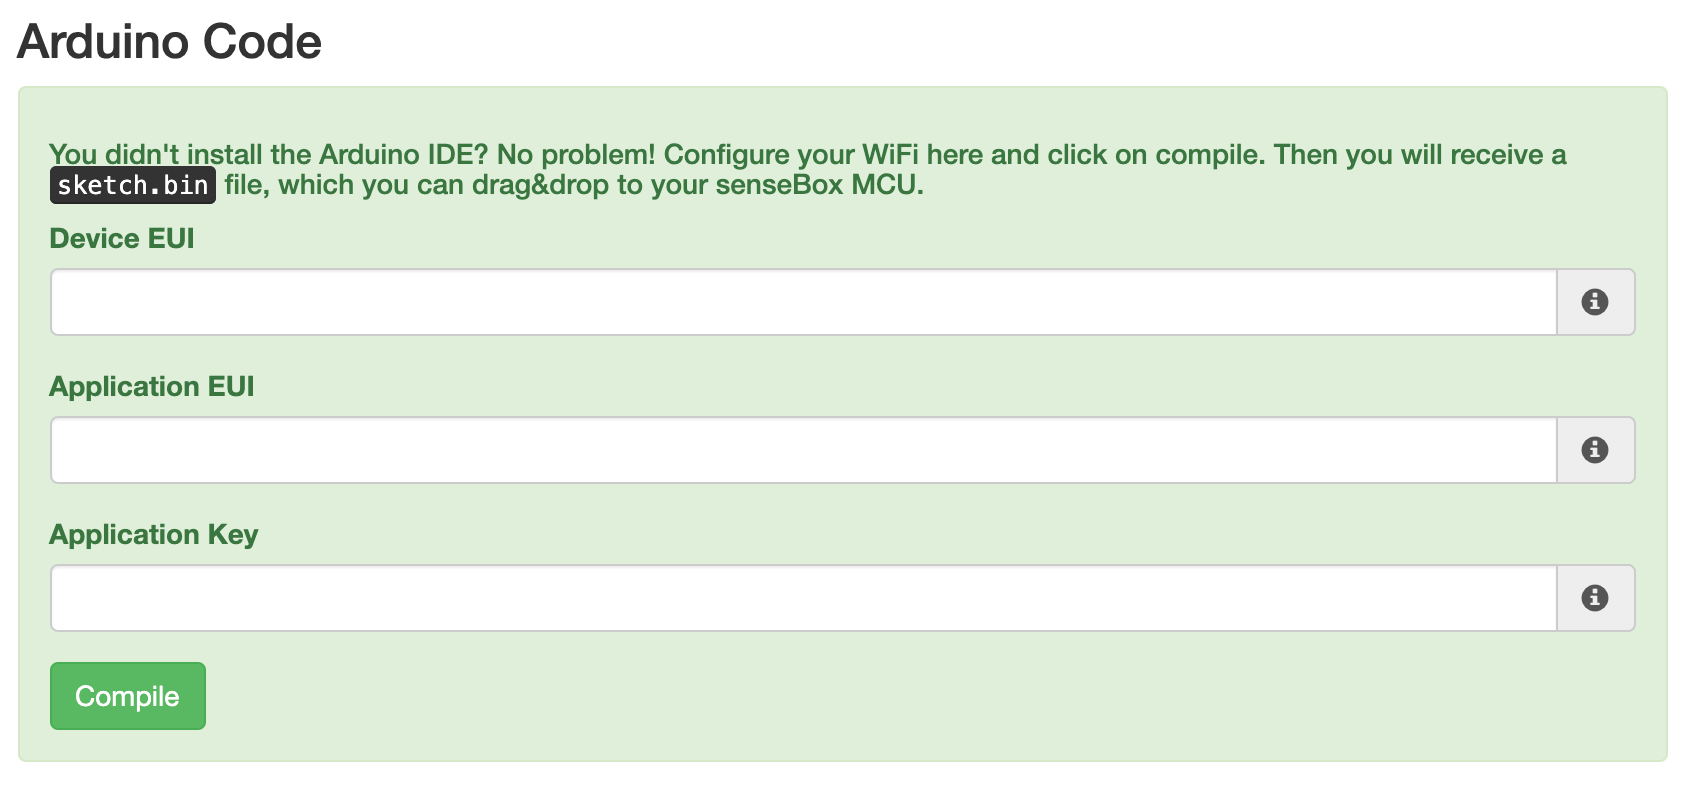
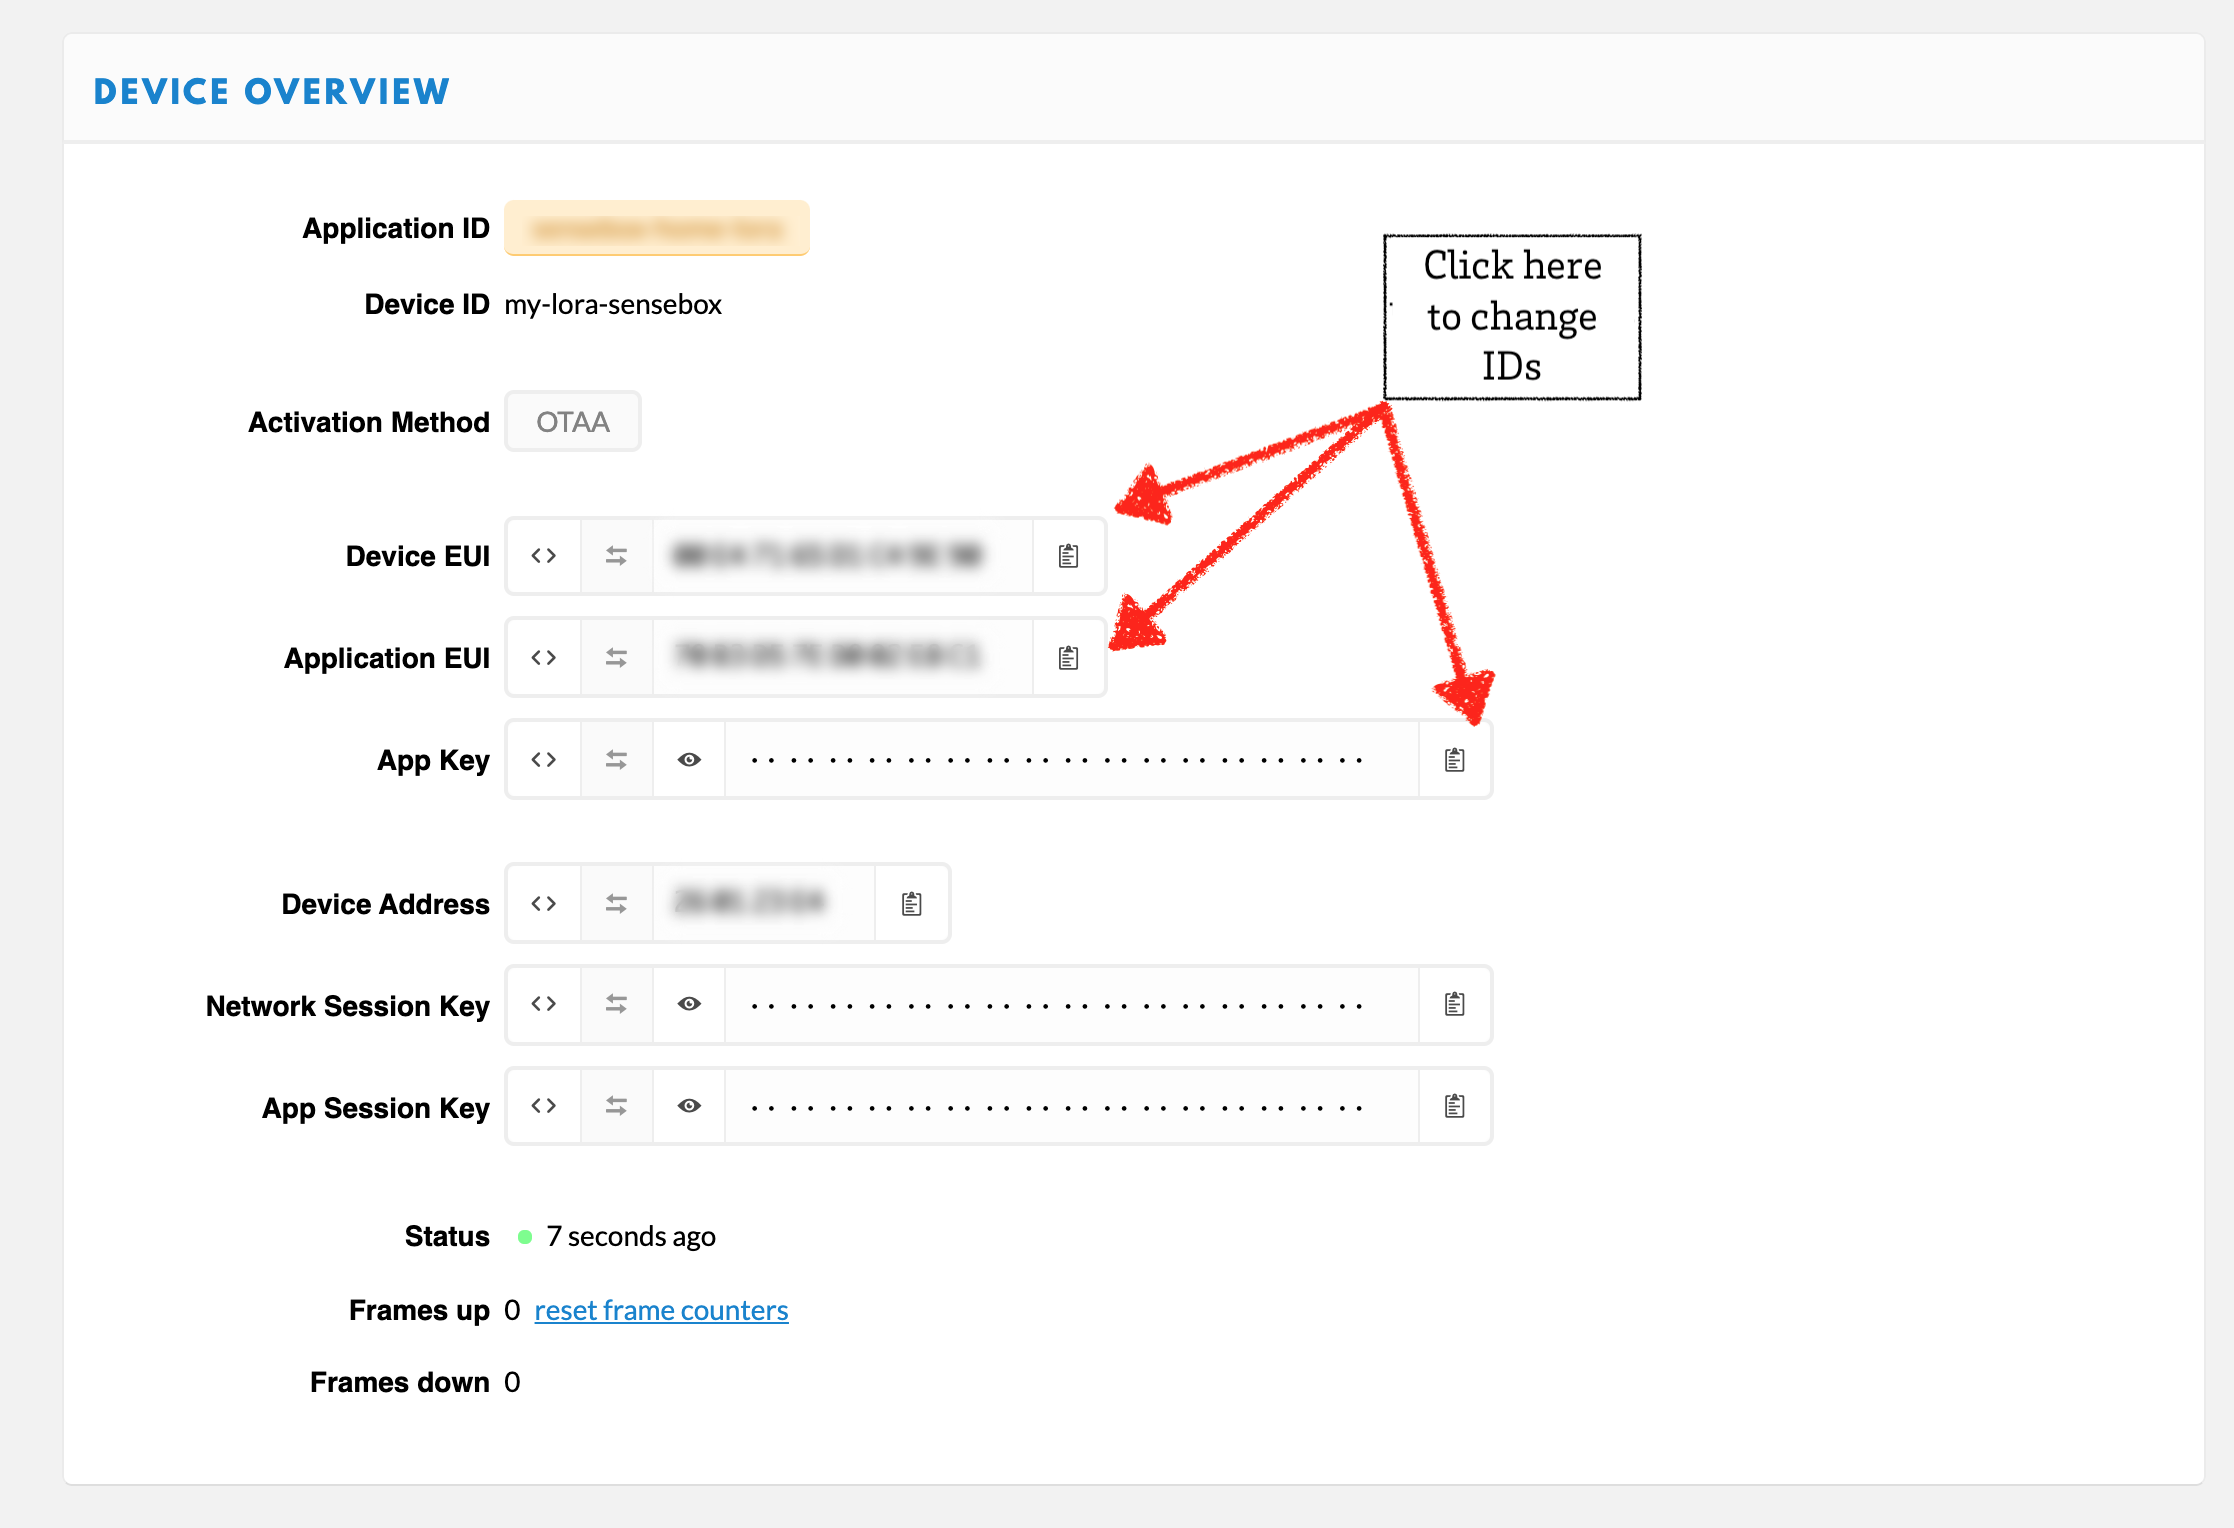
Copy the Device EUI, the Application EUI and the Application Key from the Device Overview and paste them into the corresponding fields and then press Compile.
Bring the senseBox into “learn mode” by double clicking the red reset button. The senseBox now appears as a removable disk and you can copy the previously downloaded program to the senseBox. The senseBox then restarts automatically and the data is transferred.
Beware: Under MacOS, the copying of the .BIN by Drag & Drop unfortunately does not work. The easiest way to do this is with our senseBox-Sketch Uploader. Just unzip the zip file and start the program. You can download the program here directly. Alternatively, you can copy the file via MuCommander or via the terminal using ‘d’ (however, we recommend only experienced users*).
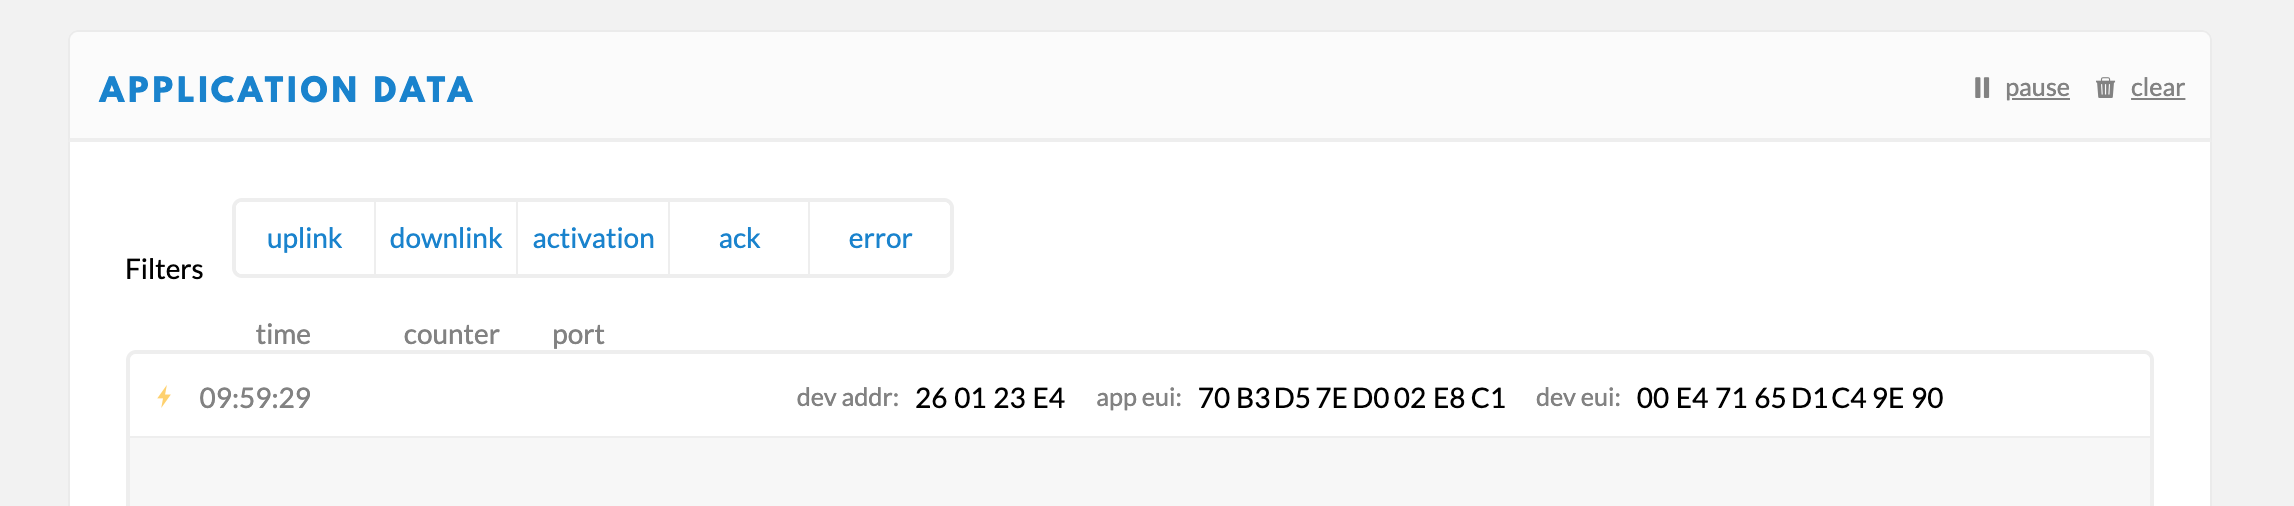
If your data does not appear on the openSenseMap, the first thing you should do is to check if your data has arrived at TheThingsNetwork. To do this, click on Data in your Device Overview and see if any data arrives there. Firstly, you should see an activation message marked with a flash. The incoming data is marked with Payload.
If data appears in the console but is not forwarded to the openSenseMap check if all parameters for the integration of TTN on the openSenseMap have been copied correctly. You can find the paremter in the dasboard of the openSenseMap.
Click on Edit on your senseBox and then select TheThingsNetwork from the side menu.
Schritt-für-Schritt Anleitung zum Aufbau deiner senseBox:home